
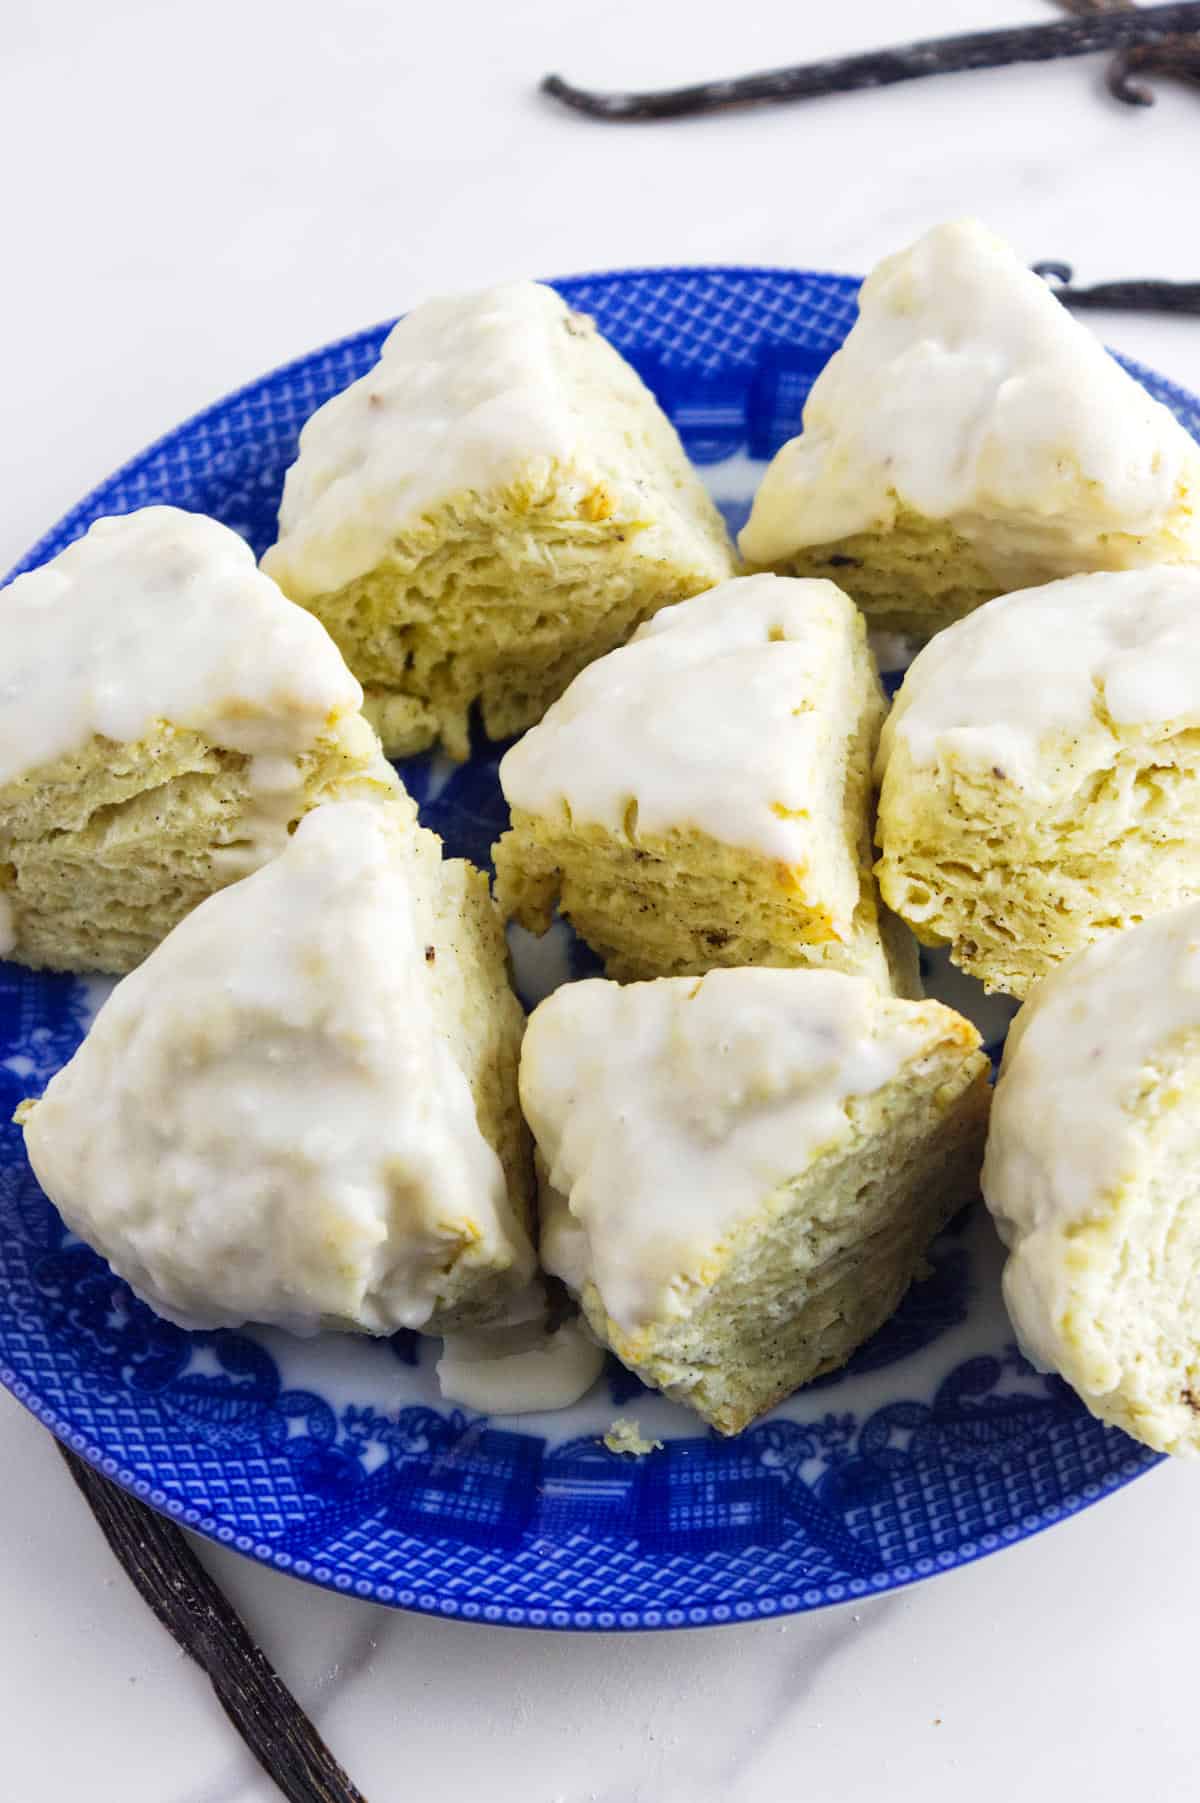
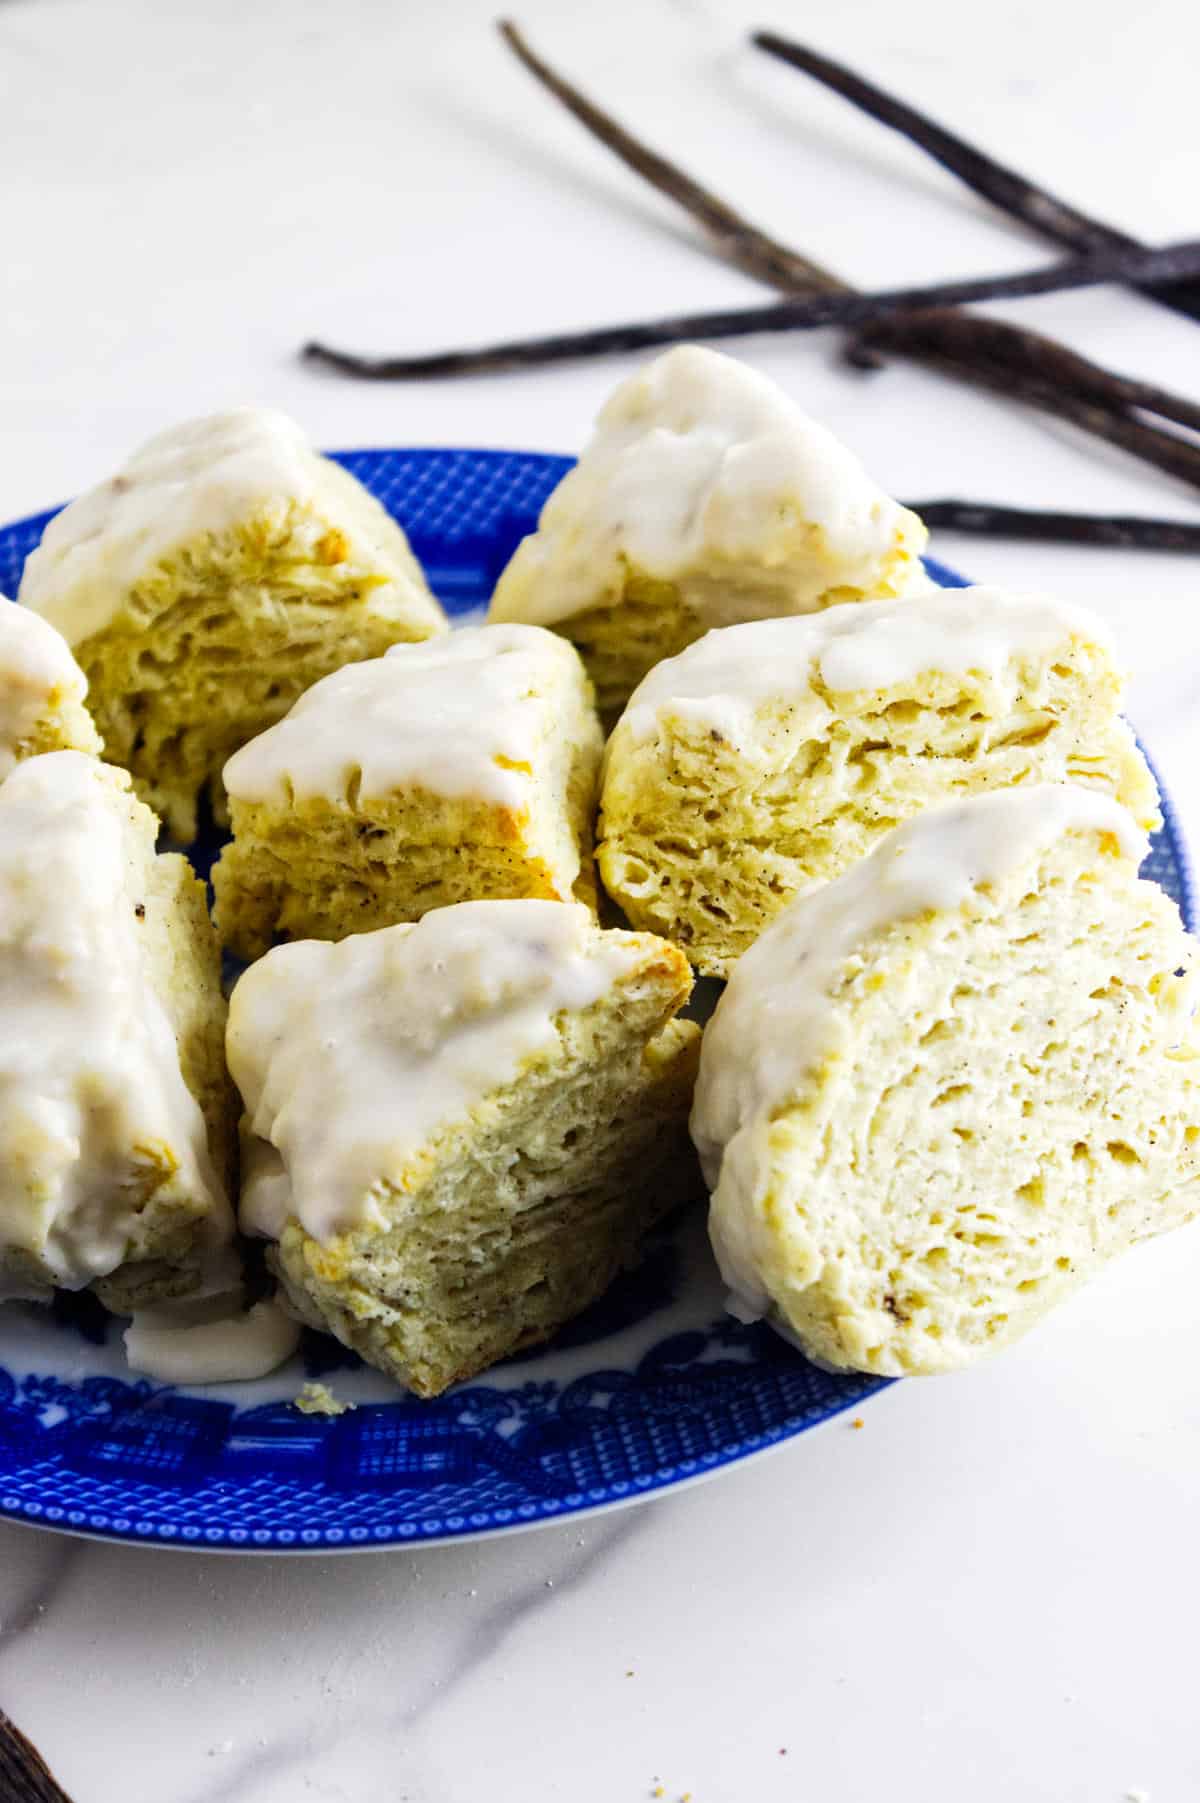
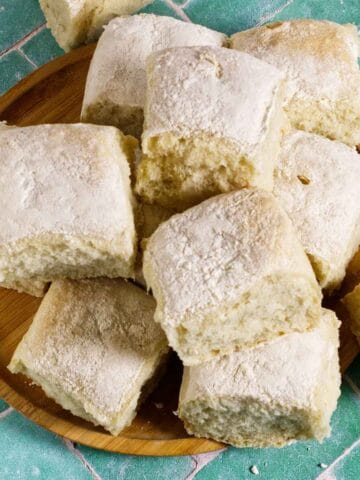
These Mini Vanilla Bean Scones are soft, buttery, and packed with a freshly scraped vanilla bean. Their mini size makes them perfect for a quick treat with coffee or tea, without feeling overindulgent.

Why You'll Love This Mini Vanilla Bean Scones Recipe
The simple dough comes together quickly with pantry staples, making it easy to bake even on busy mornings. Their lightly sweet, tender crumb makes them just as good plain as they are with a pat of butter or a drizzle of glaze.
- Quick and Even Baking: The mini size helps the scones bake evenly, giving you tender centers with lightly golden edges every time.
- Classic Vanilla Bean Flavor: Real vanilla bean adds a warm, bakery-style flavor that feels special without being too rich.
- Freezer-Friendly Convenience: These scones freeze beautifully, so you can keep a batch on hand for easy breakfasts or unexpected guests.
Ingredients Overview
This recipe uses simple, everyday ingredients like flour, sugar, butter, and eggs, along with real vanilla bean for a rich, fragrant flavor. No special techniques or equipment are required, making it easy for any home baker to whip them up. The visual step-by-step tutorial will guide you through each stage of mixing and shaping the scones.
Full ingredient amounts and preparation instructions are in the printable recipe card at the bottom of this post.
How To Make Mini Vanilla Bean Scones
Making these scones is simple: mix the ingredients into a soft dough, shape into mini rounds, and bake until golden. The visual step-by-step tutorial will walk you through each stage of the process.
Pro Tip
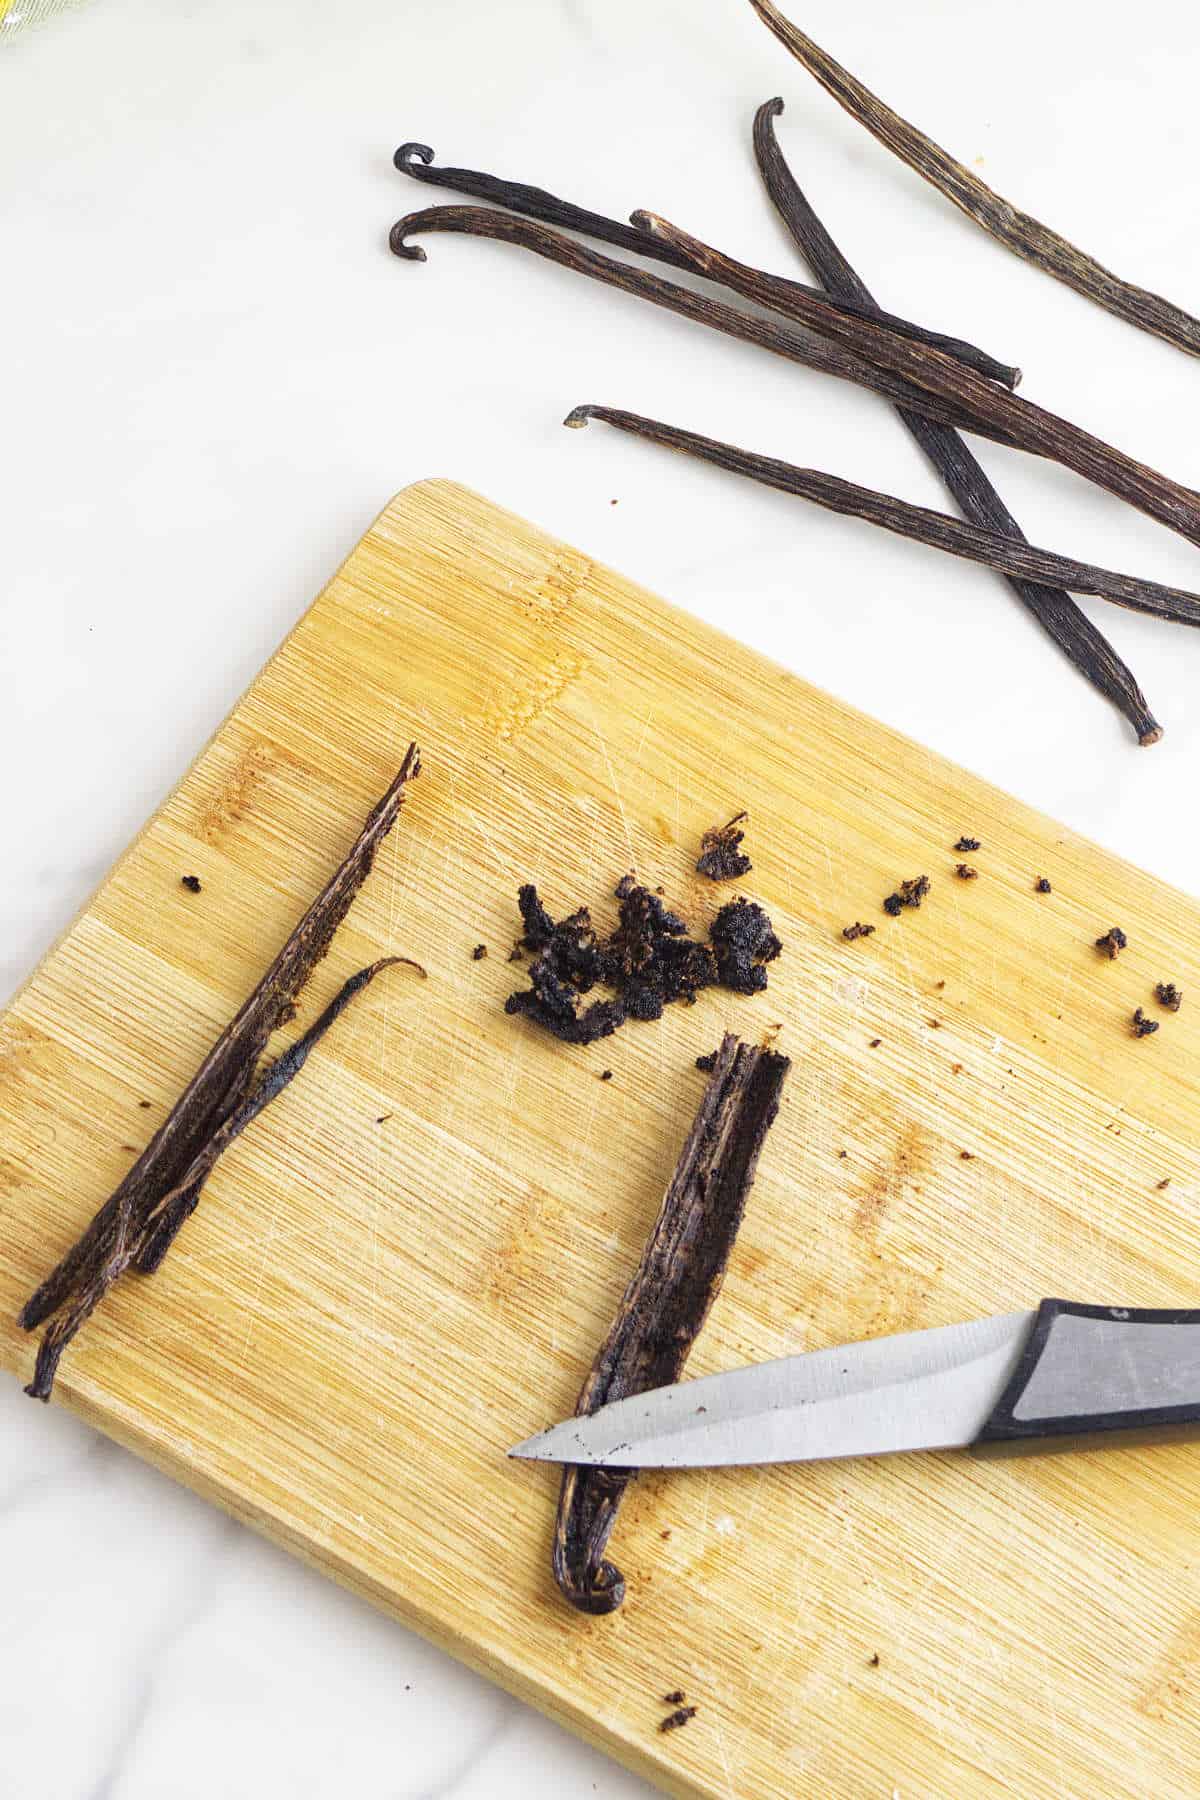
Look for plump vanilla beans that have an almost oily exterior and are either a little squishy or easily bendable. For step-by-step instructions on scraping the caviar from whole vanilla beans, see this How To Use Fresh Vanilla Beans guide.

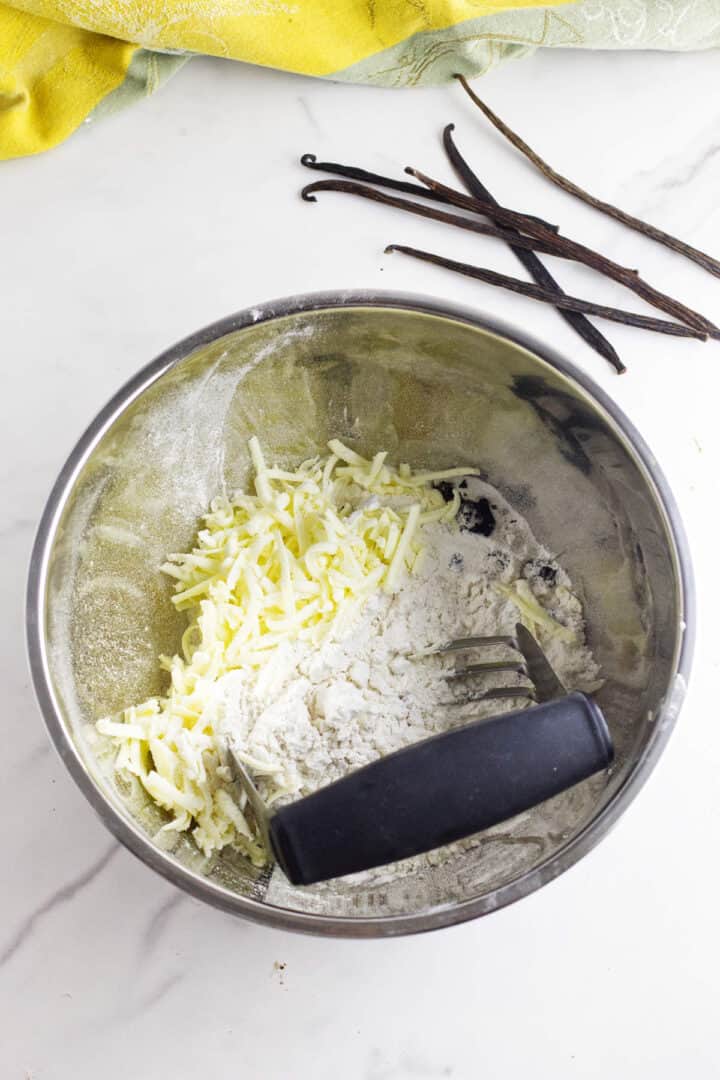
Step 1: In a large bowl combine flour, sugar, baking powder and salt and whisk to mix.
Step 2: Add butter and cut in with a pastry cutter until the mixture resembles cornmeal texture. In another bowl, whisk together the heavy cream, egg, and the scrapings of a fresh, plump vanilla bean, and the vanilla extract.
Pro Tip
Freeze the butter and grate it into your flour using a box grater, then lightly toss into the flour mixture.
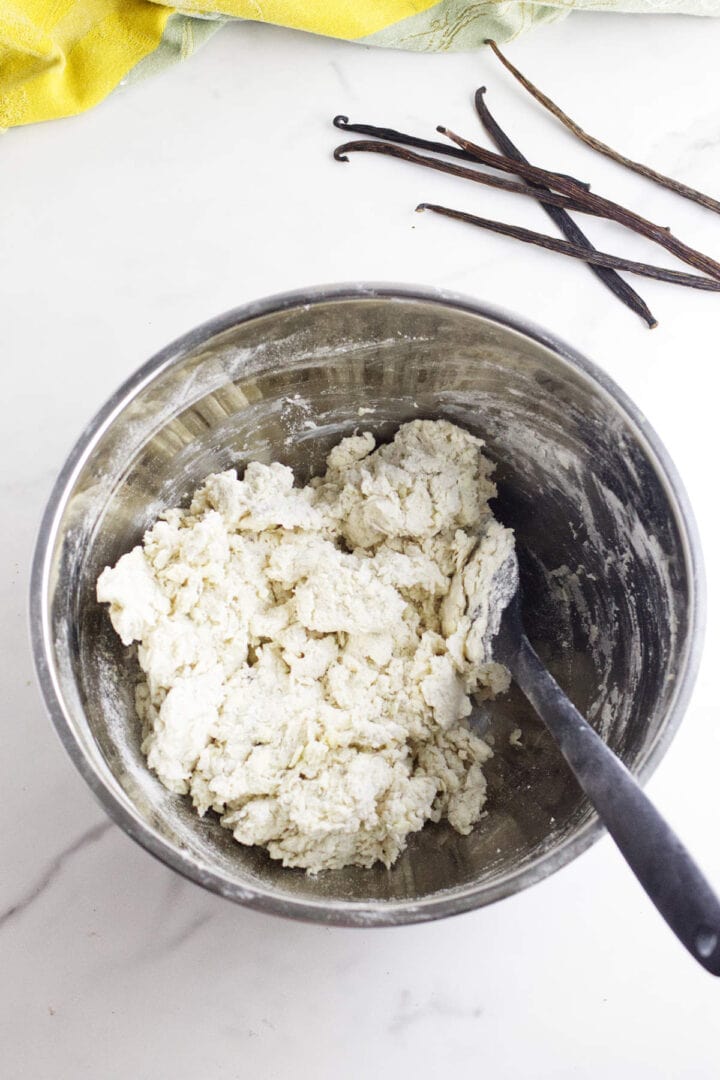
Step 3: Add the liquid mixture to the flour mixture and stir until dough forms a ball. If using a stand mixer, use a low setting and mix until just barely combined, some flour will still be visible.
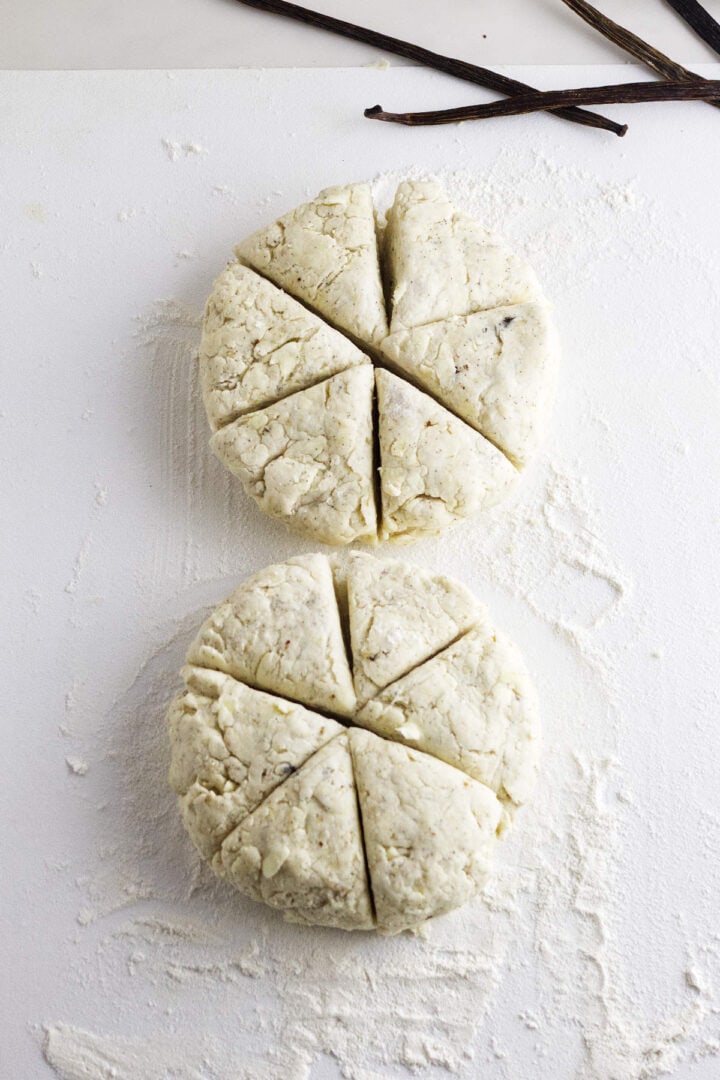
Step 4: Put the dough onto a lightly floured surface, pull it together and knead lightly until dough comes together into a ball.
Divide into 4 balls of dough and roll each out into disks 1 inch thick, about 6 inches in diameter. Cut each disk into 6 wedges.
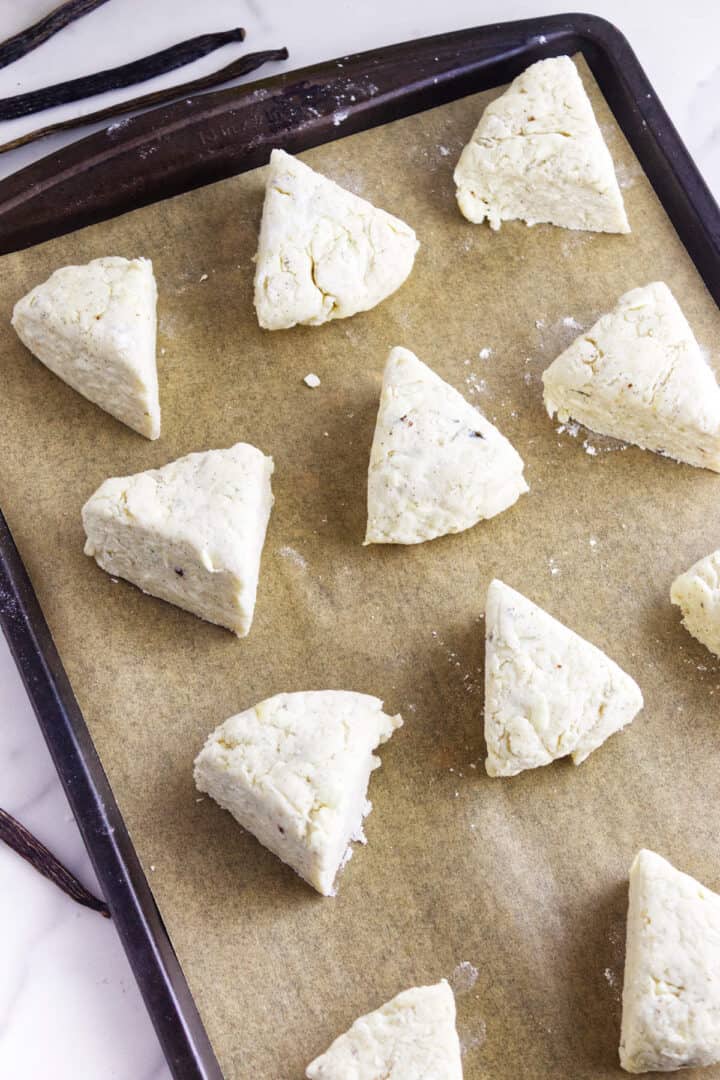
Step 5: Transfer the the wedges to the prepared baking sheet about 2 inches apart. Bake 10-12 minutes, or until edges begin to get golden brown.
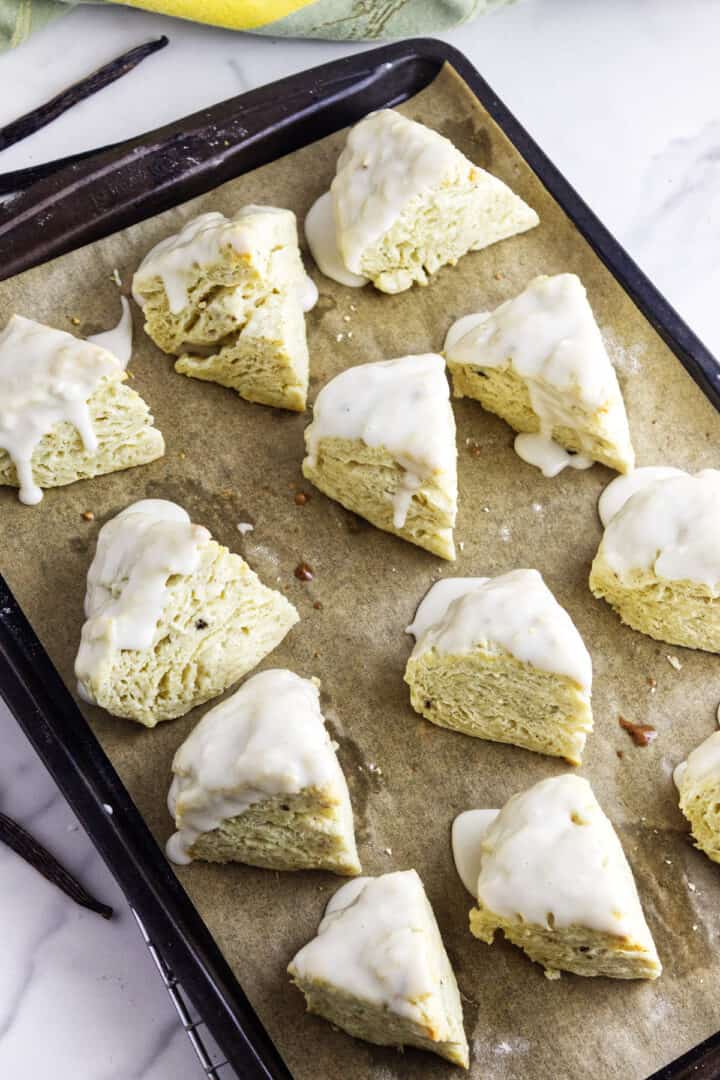
Step 6: Transfer scones to a cooling rack to cool completely before glazing. To make the vanilla glaze, whisk together the cream one table spoon at a time until you have thick flowing liquid.
Dip the cooled scone top in the glaze, or brush it on with a pastry brush. Place the glazed scones back onto cooling rack to harden.
Serving Ideas for Mini Scones
Scones make the perfect little pick-me-up any time of day, and you'll also find plenty of other flavors to love like Lemon Poppyseed Scones, Sour Cream Rhubarb Scones, and Matcha Scones.
For a fun twist, try serving them alongside other brunch items, like Dried Cherry Scones, Frangipane Muffins, or a savory breakfast casserole for a special brunch.
Substitutions and Variations
Some useful tips and substitutions when making this recipe:
- Vanilla Bean Paste Substitute: Use store-bought vanilla bean paste instead of scraping a fresh vanilla bean for convenience.
- Sugar Options: Replace granulated sugar with brown sugar for a subtle flavor twist.
- Glaze Alternatives: Top with powdered sugar, or skip the glaze for a less sweet version.
- Gluten-Free Option: Replace all-purpose flour with a 1:1 gluten-free flour blend to make the scones gluten-free.
Tips for Success
Helpful tips to help you when making this recipe:
- Keep Butter Cold: Use cold butter to create a tender, flaky texture in the scones.
- Don't Overmix: Mix the dough just until combined to avoid dense scones.
- Even Sizing: Shape the scones into uniform mini rounds so they bake evenly.
- Preheat Oven: Make sure your oven is fully preheated to achieve golden, perfectly baked edges.
- Cool Before Glazing: Allow the scones to cool slightly before adding any glaze to prevent it from melting off.
Storage Options
Here is how I store leftovers when making this recipe:
- Room Temperature: Store cooled scones in an airtight container for up to 2 days.
- Refrigerator: Keep scones in an airtight container in the fridge for up to 5 days.
- Freezer: Wrap scones individually in plastic wrap and place in a freezer-safe bag for up to 3 months.
- Reheating: Warm scones in the oven at 300°F for 5-7 minutes or in the microwave for 15-20 seconds for a fresh-baked taste.
Related Recipes
- Blueberry Lemon Scones
- Dried Cherry Scones
- Strawberry and Cream Cheese Scones
- Sour Cream Rhubarb Scones
Frequently Asked Questions
Yes, you can use vanilla extract or vanilla bean paste if you don't have a whole vanilla bean; good quality paste will still give you strong vanilla flavor. If using just vanilla extract, double the recipe recommendations.
Keeping the butter and cold ingredients chilled helps create flakier, tender scones because cold butter forms steam pockets as it bakes.
Avoid over-mixing and make sure you use enough liquid; overbaking can also dry them out, so begin checking for doneness about 2 minutes before the minimum baking end time.
Chilling the dough briefly before baking can help keep the butter firm and improve rise, which results in a more tender texture, but it is not required in this recipe.
Use a sharp knife or cutter and press straight down without twisting to avoid compressing the dough and ensure even baking.
Breakfast Breads
- Traditional Irish Blaa Rolls (Waterford Blaa Recipe)
- Strawberry Rhubarb Sweet Focaccia
- Strawberry and Cream Cheese Scones
- Sour Cream Rhubarb Scones


Get the Recipe!

Mini Vanilla Bean Scones
Ingredients
For the Scones:
- 2 ½ cup All-purpose Flour
- ½ cup Sugar
- 1 tablespoon Baking Powder
- ¼ teaspoon Salt
- ½ cup Butter , cold and cubed or grated
- ½ cup Heavy Cream
- 1 large Egg
- 1 large Vanilla Bean , scraped
- 2 teaspoon Vanilla Extract
For the Glaze:
- 2 cups Powdered Sugar
- 4 tablespoon Heavy Cream
- 1 teaspoon Vanilla Extract
Instructions
- Preheat oven to 400℉ and line a baking sheet with parchment paper or a perforated silicone mat.
- In a large bowl combine flour, sugar, baking powder and salt and whisk to mix.2 ½ cup All-purpose Flour, ½ cup Sugar, 1 tablespoon Baking Powder, ¼ teaspoon Salt
- Add butter and cut in with a pastry cutter until the mixture resembles cornmeal texture.Pro Tip: Freeze the butter and grate it into your flour using a box grater!½ cup Butter
- In another bowl, whisk together the heavy cream, egg, and the scrapings of a fresh, plump vanilla bean, and the vanilla extract.½ cup Heavy Cream, 1 large Egg, 1 large Vanilla Bean, 2 teaspoon Vanilla Extract
- Add the liquid mixture to the flour mixture and stir until dough forms a ball. If using a stand mixer, use a low setting and mix until just barely combined, some flour will still be visible.
- Put the dough onto a lightly floured surface, pull it together and knead lightly until dough comes together into a ball.
- Divide into 4 balls of dough and roll each out into disks 1 inch thick, about 6 inches in diameter.
- Divide each disk into 6 to 8 wedges and transfer them to the prepared baking sheet about 2 inches apart. Bake 10-12 minutes, or until edges begin to get golden brown.
- Transfer scones to a cooling rack to cool completely.
- To make the vanilla glaze, whisk together the cream one table spoon at a time until you have thick flowing liquid.2 cups Powdered Sugar, 4 tablespoon Heavy Cream, 1 teaspoon Vanilla Extract
- You can dip the cooled scone top in the glaze, or brush it on with a pastry brush. Place the glazed scones back onto cooling rack to harden.
Notes
- Keep Butter Cold: Use cold butter to create a tender, flaky texture in the scones.
- Don't Overmix: Mix the dough just until combined to avoid dense scones.
- Even Sizing: Shape the scones into uniform mini rounds so they bake evenly.
- Preheat Oven: Make sure your oven is fully preheated to achieve golden, perfectly baked edges.
- Cool Before Glazing: Allow the scones to cool slightly before adding any glaze to prevent it from melting off.


Kelly says
Delicious, I'm making this again!