Sourdough bread is prized for its tangy flavor, unique texture, and impressive rise. But the magic behind sourdough lies in its starter, a vibrant community of wild yeasts and lactic acid bacteria cultivated over time. If you've ever wondered how to make a sourdough starter from scratch, this guide is for you!
This easy-to-follow recipe takes you through the steps of creating your very own sourdough starter, unlocking a world of delicious possibilities for your future bakes.
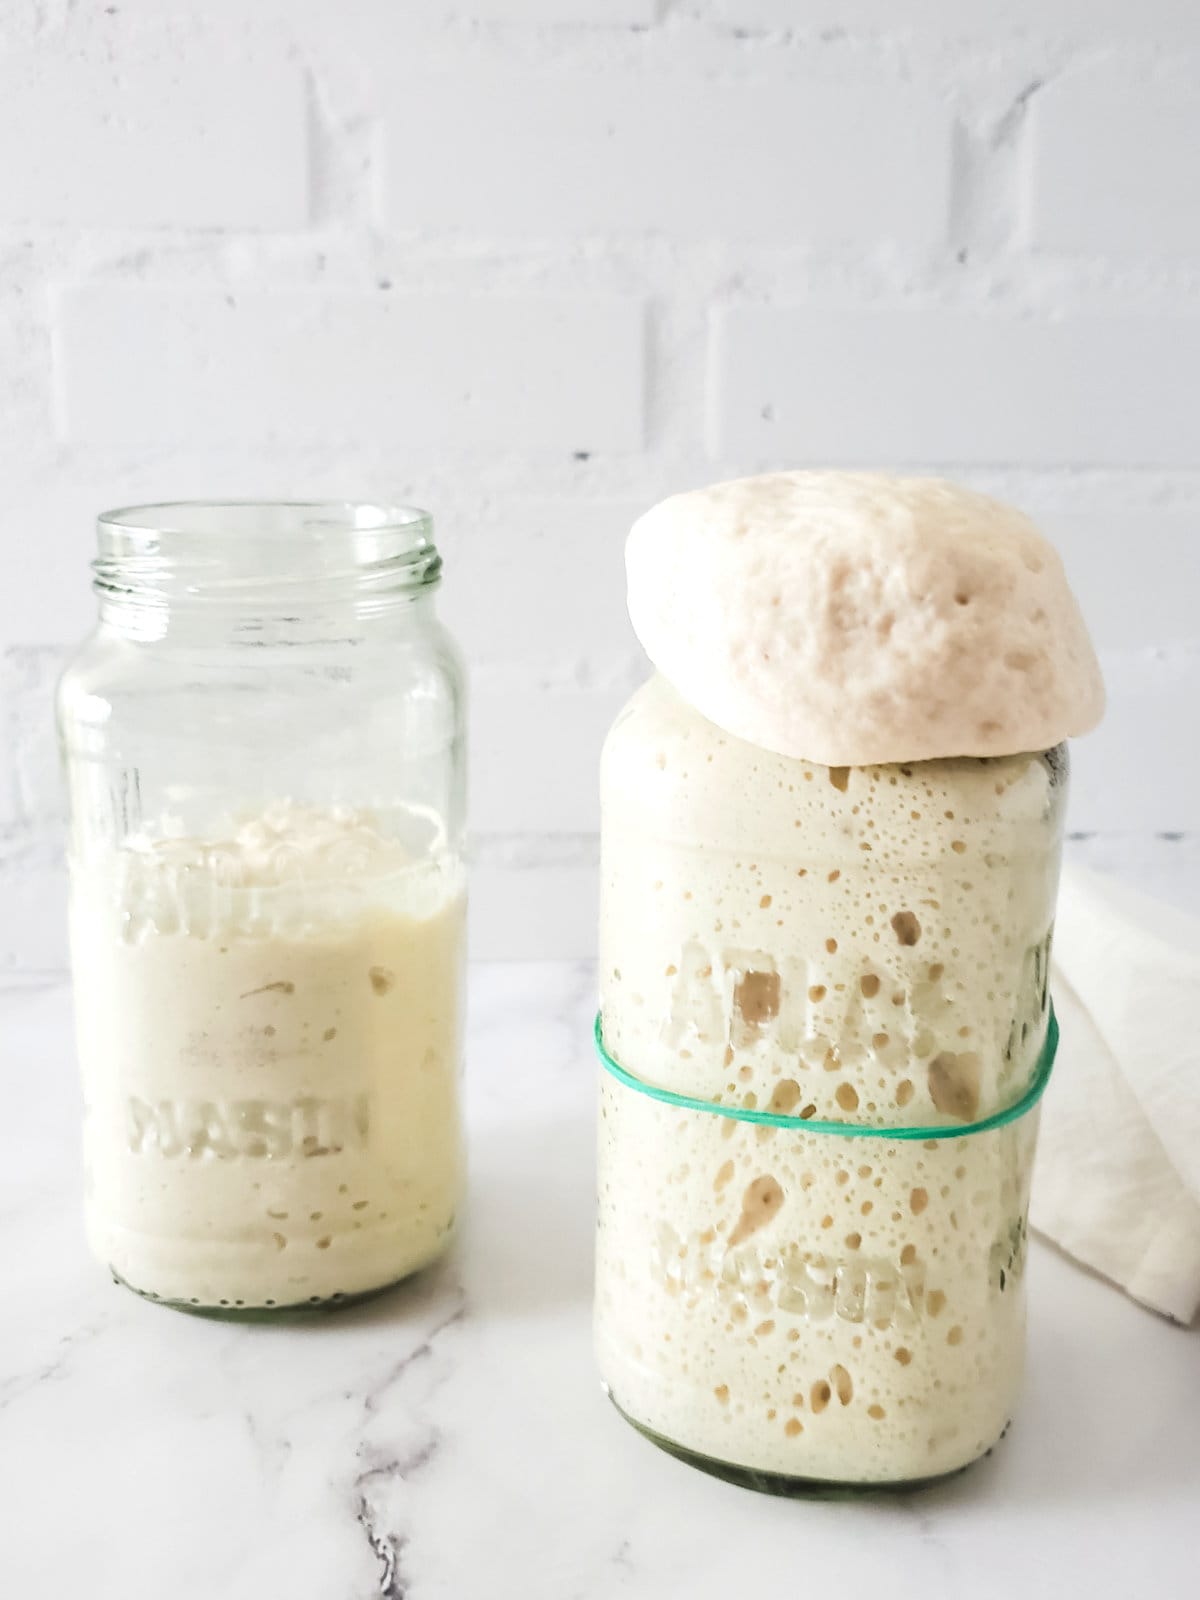
What Is A Sourdough Starter?
This seemingly simple question unlocks a world of flavor and texture in the realm of bread baking. A sourdough starter is a natural leavening agent teeming with wild yeasts and beneficial lactic acid bacteria, captured and cultivated over time.
Unlike commercially produced yeast, sourdough starter feeds on the natural starches and sugars present in flour, resulting in a tangy flavor, unique open crumb structure, and chewy texture that define sourdough bread.
Creating your own sourdough starter is a rewarding journey, and this guide equips you with everything you need to know to cultivate your very own bubbly friend!
Jump to:
- What Is A Sourdough Starter?
- Why This Sourdough Starter Recipe Works
- Ingredients For Sourdough Starter Recipe
- How To Make A Sourdough Starter From Scratch
- Substitutions and Variations
- Tips for Success
- How A Sourdough Starter Is Used
- Related Recipes
- Equipment
- Storage and Reheating
- Frequently Asked Questions
- More Delicious Bread Ideas
- Sourdough Starter Recipe
Why This Sourdough Starter Recipe Works
This recipe for sourdough starter is designed for beginner and experienced bakers alike:
- Simple Ingredients: Requires just flour and water, readily available pantry staples.
- Minimal Hands-On Time: Just a few minutes of daily attention kickstarts the fermentation process.
- Rewarding Results: Witness the magic of life as your starter ferments and awakens.
- Endless Possibilities: Unlock a world of delicious sourdough breads, pastries, and more!
Ingredients For Sourdough Starter Recipe
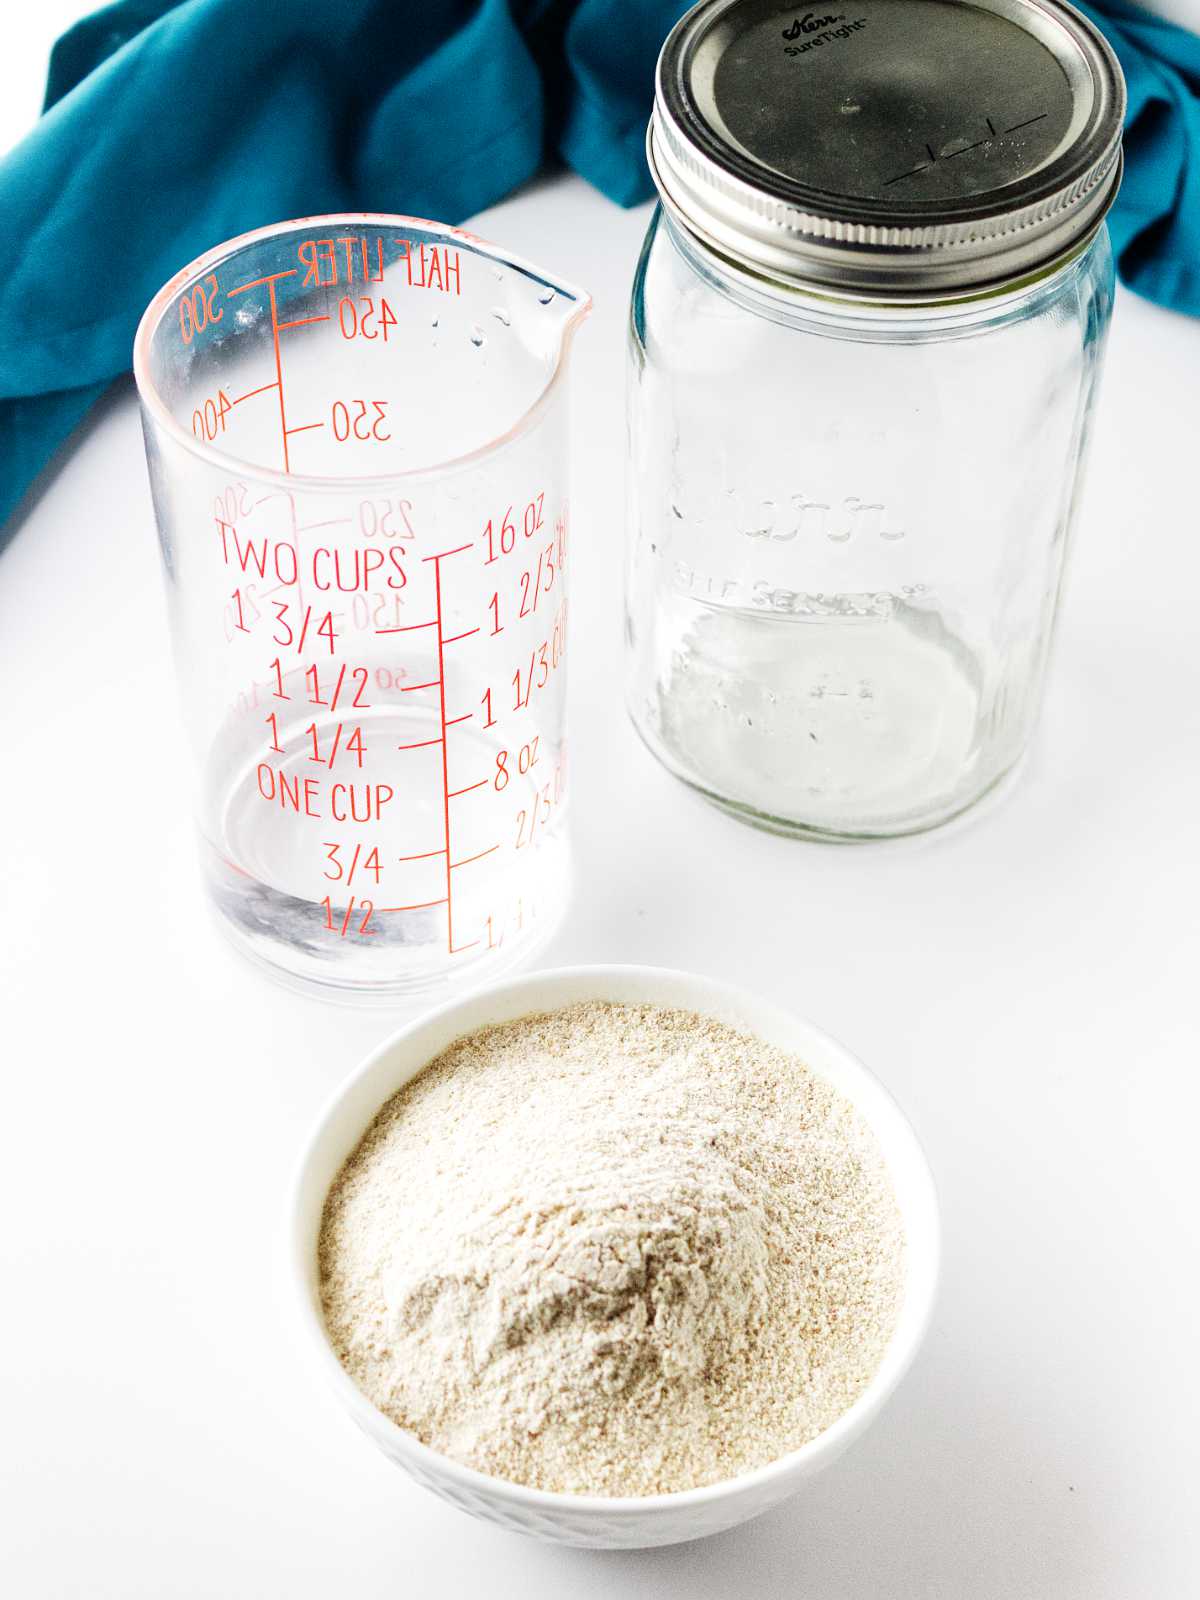
This recipe for sourdough starter relies on just two key ingredients:
- Unbleached Flour: Provides the food source (starches and sugars) for the wild yeasts and bacteria to thrive. Organic flour is often recommended as it can contain a wider variety of microorganisms.
- Filtered or Bottled Water: Provides the hydration necessary for the fermentation process. Chlorinated tap water can sometimes inhibit the growth of wild yeasts.
Full ingredient amounts and preparation instructions are in the printable recipe card at the bottom of this post.
How To Make A Sourdough Starter From Scratch
Maintaining a sourdough starter might seem intimidating at first, but this guide simplifies the process, providing a straightforward recipe and helpful tips to get you started on your sourdough journey!
Day 1 Ferment Flour and Water
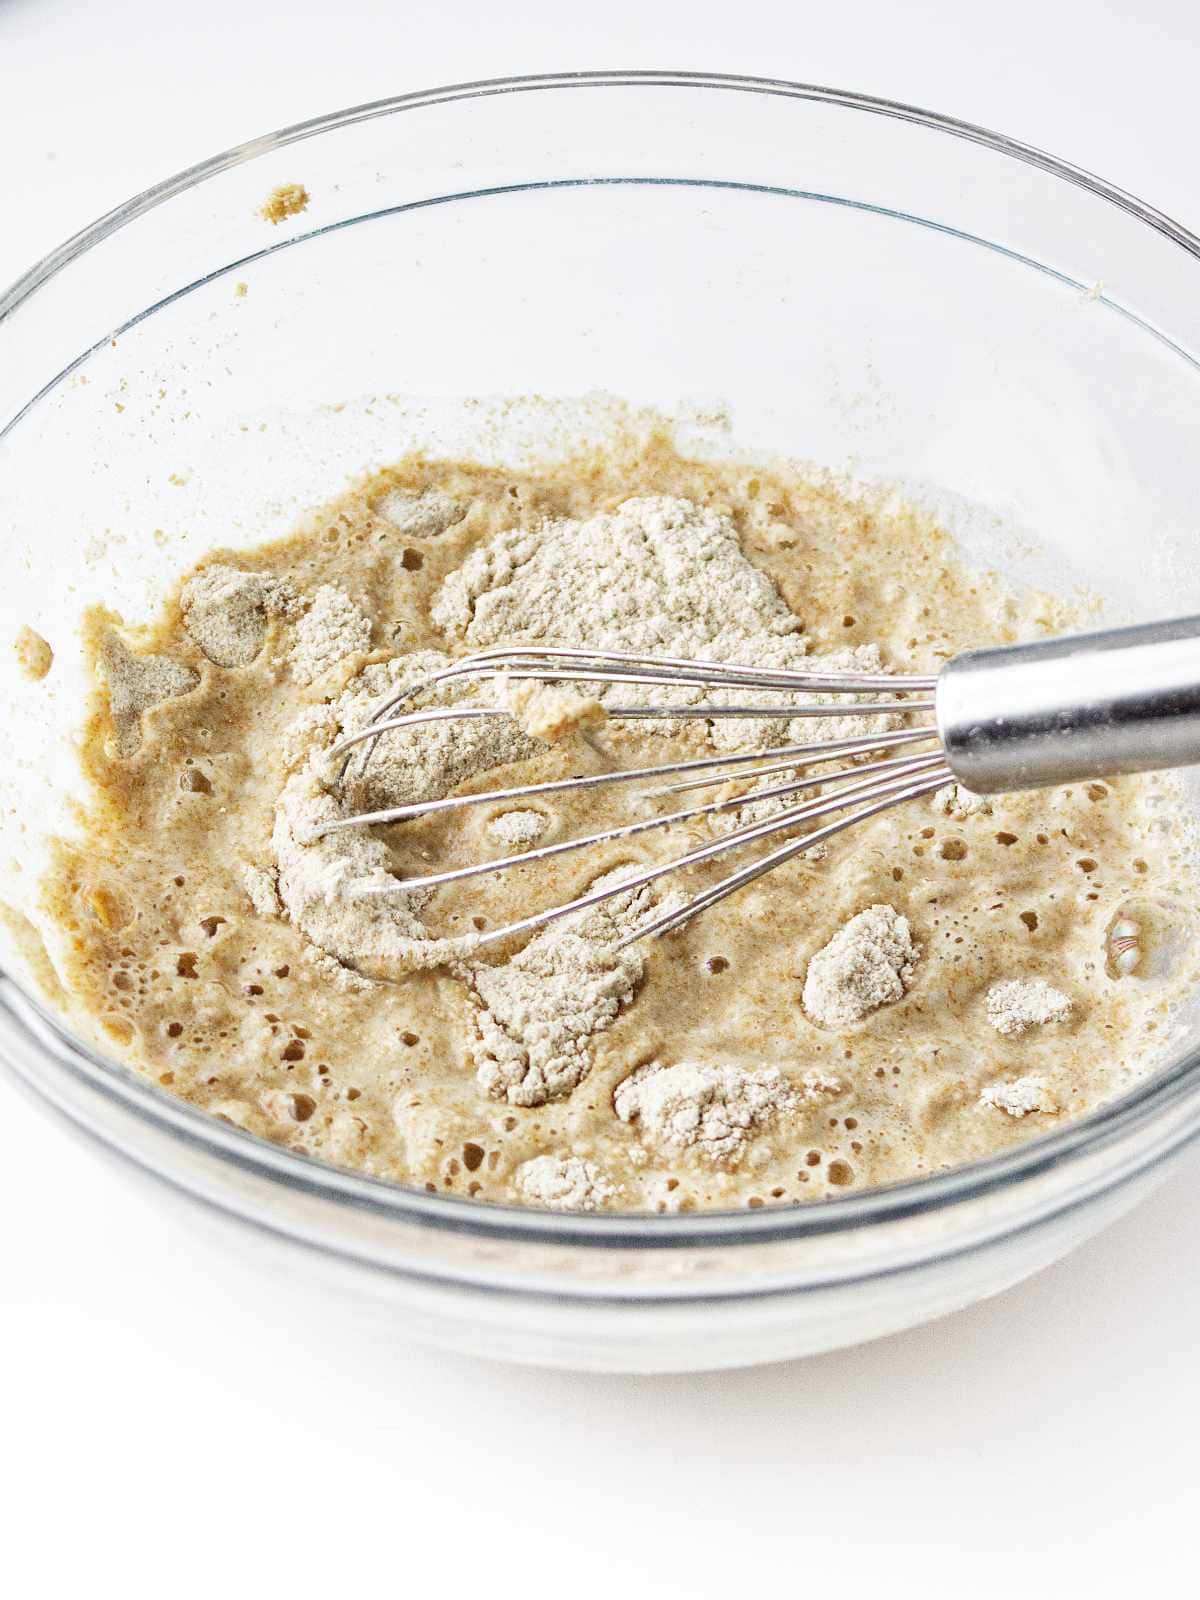
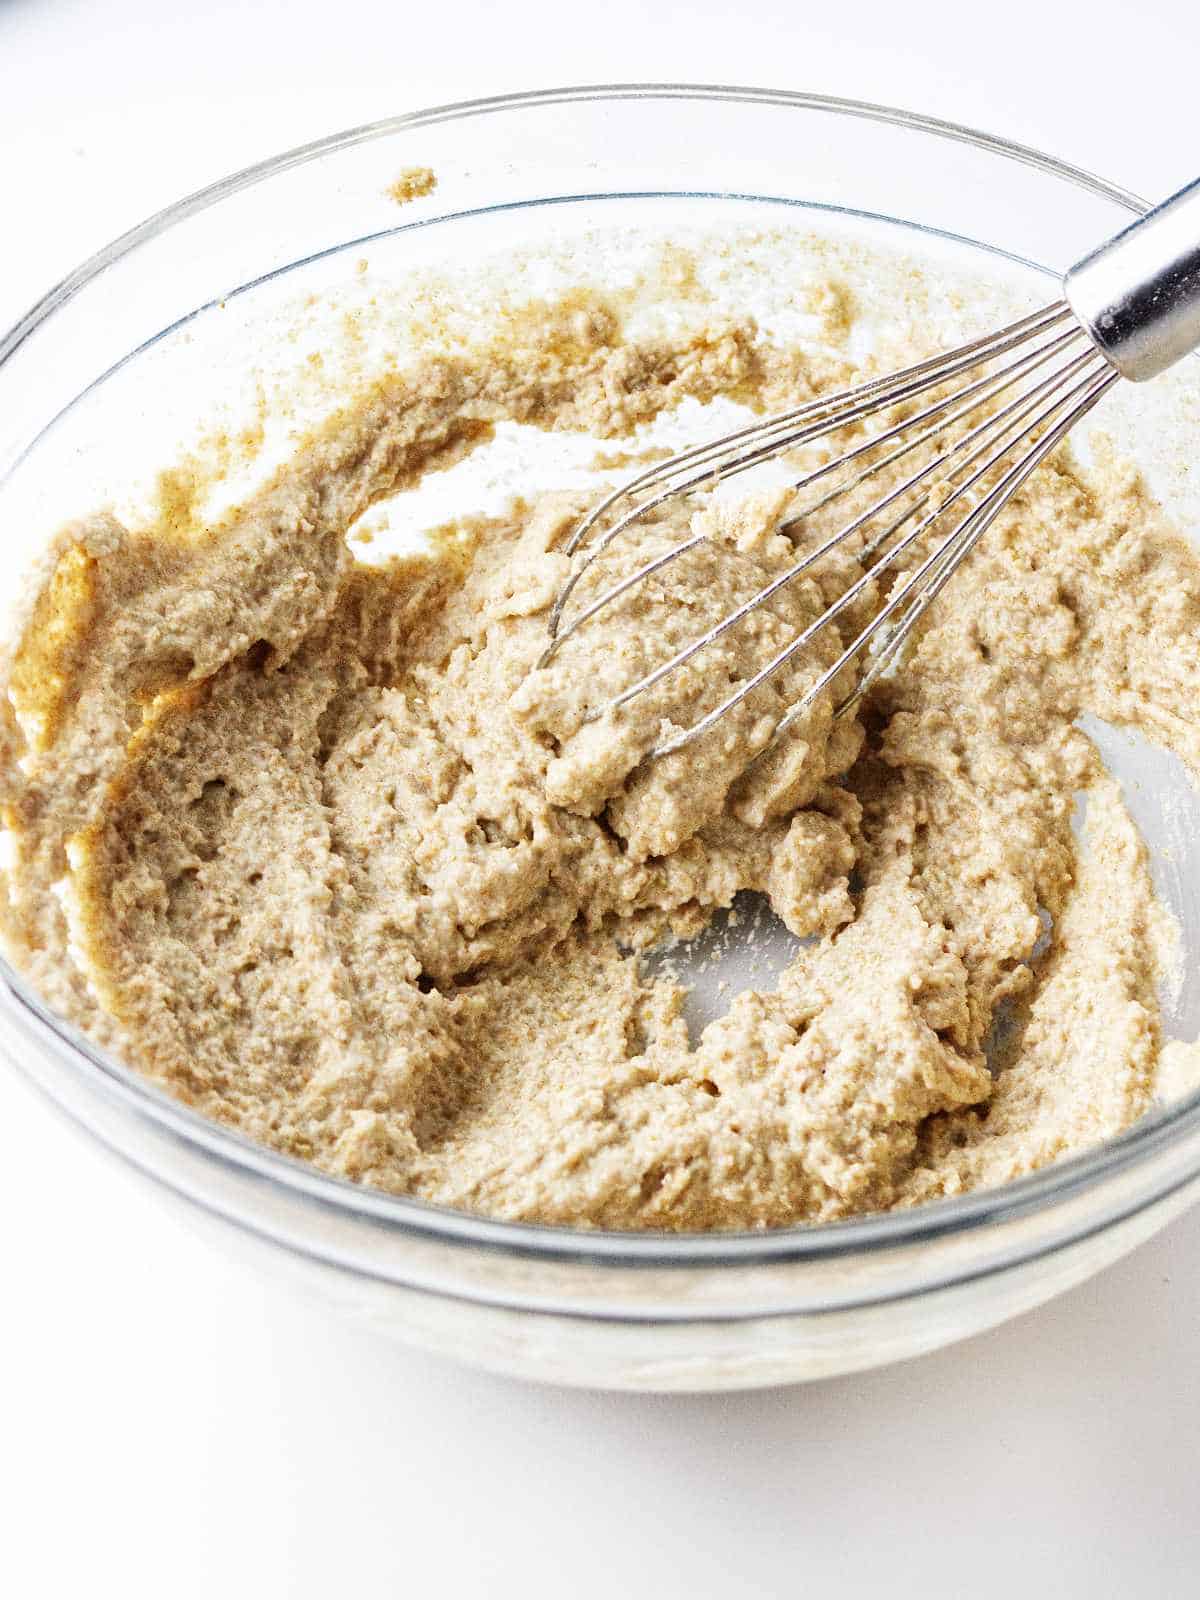
- In a clean, non-reactive container (like a glass jar), combine the flour and water. Mix well to form a shaggy dough.
- Cover the jar loosely with a lid or cloth (not airtight) and leave it at room temperature (around 70°F/21°C) for 48 hours.
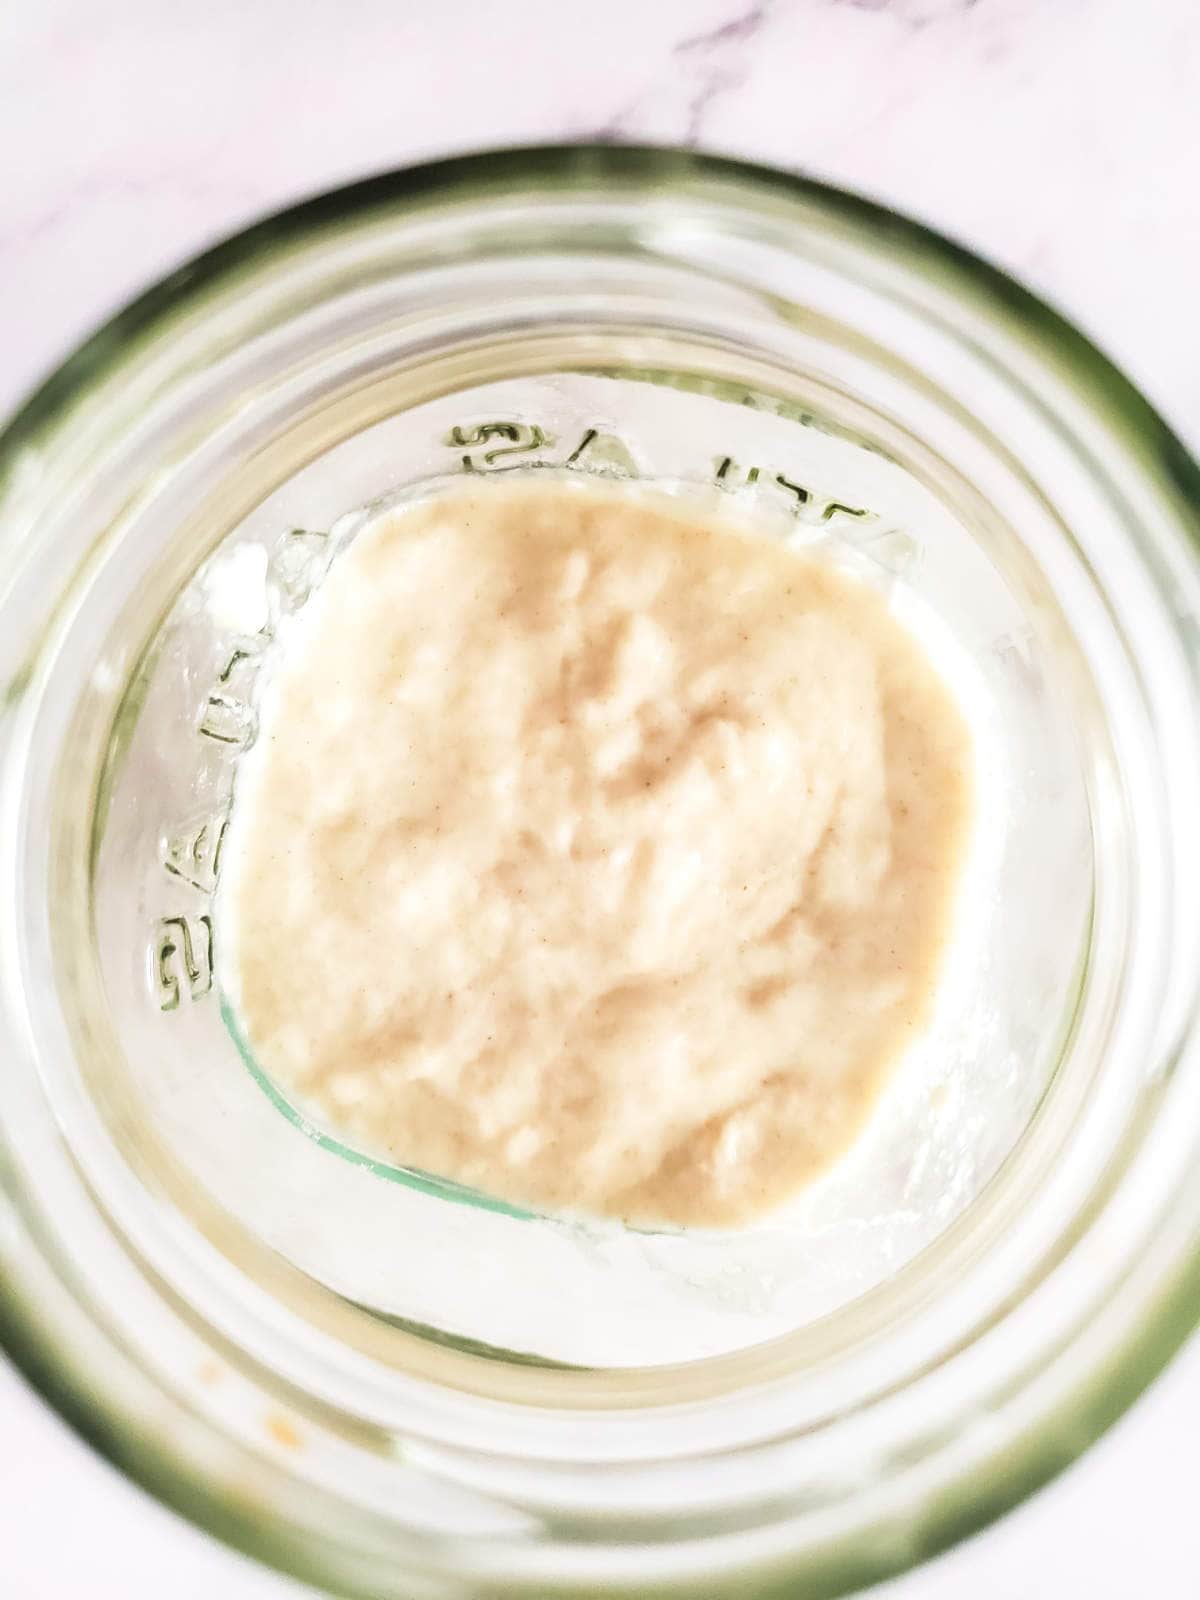
Day 3: Discard And Feed The New Sourdough Starter
- After 48 hours, discard half of the starter and discard the liquid on top. Feed the remaining starter with another ½ cup (65g) of flour and ½ cup (120ml) of water. Mix well and cover loosely again.
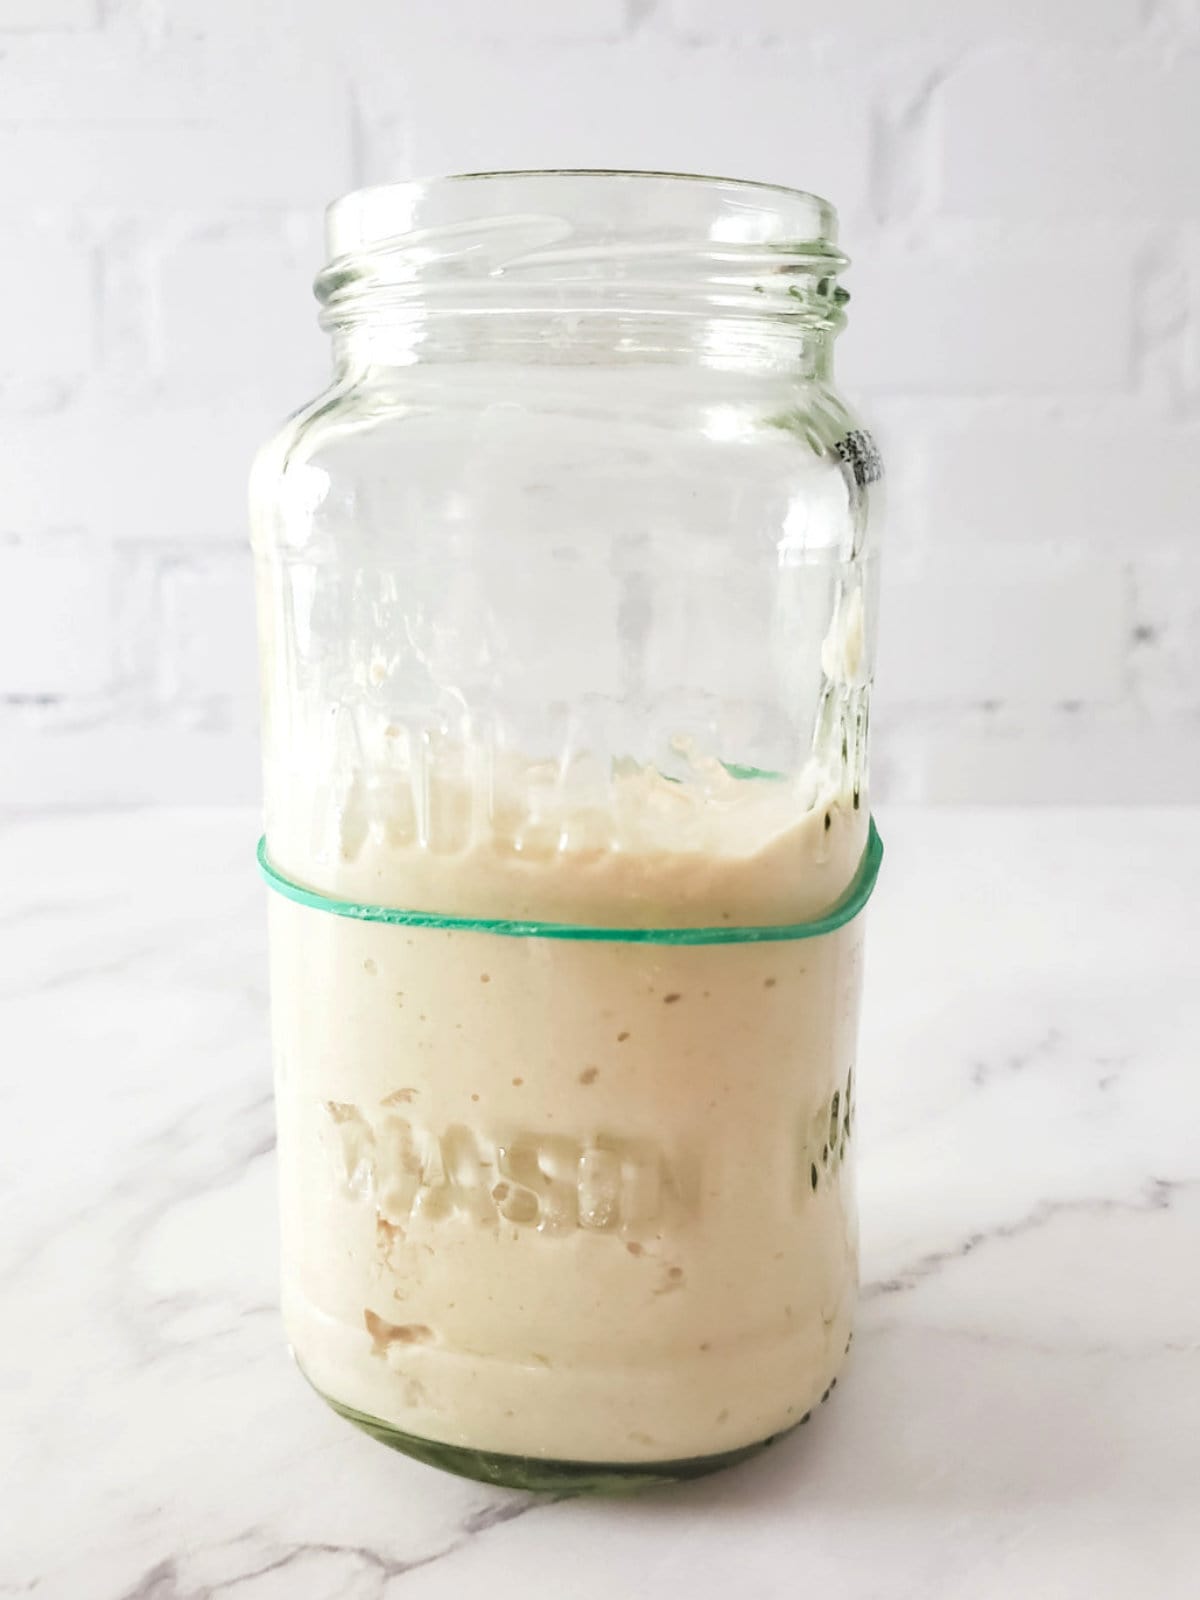
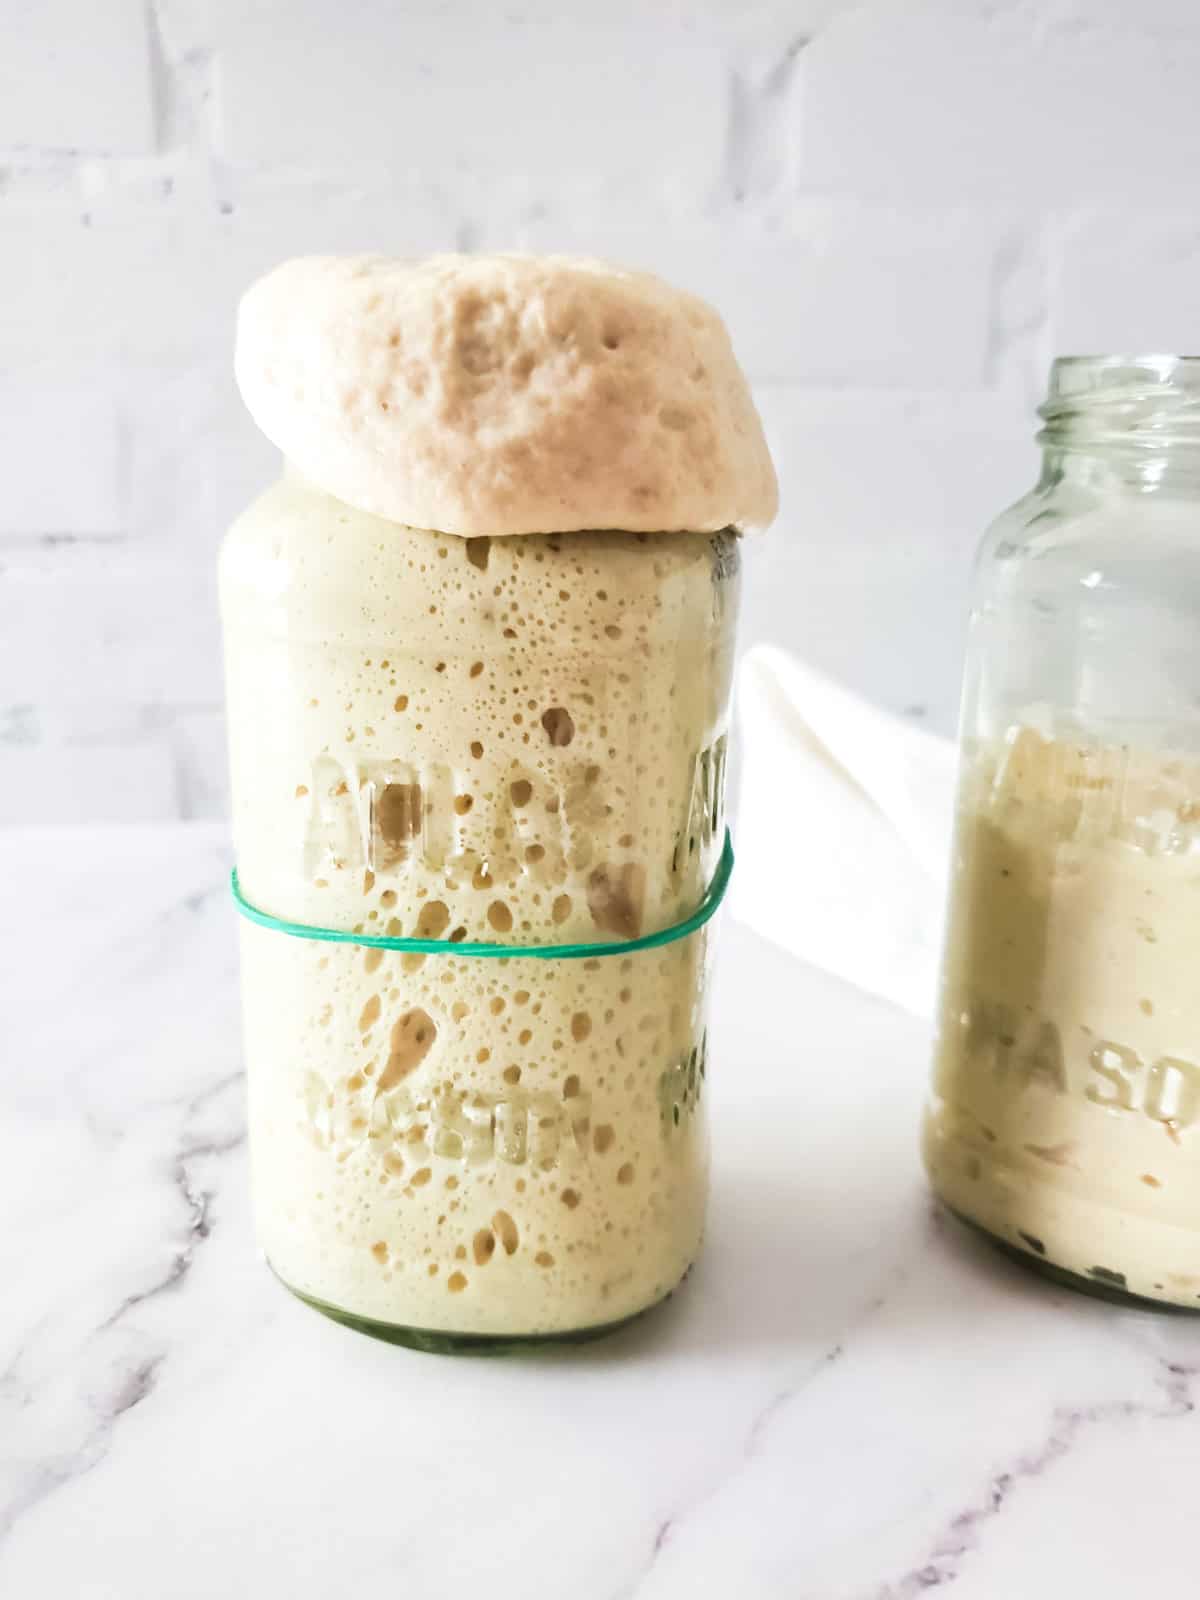
- Place a heavy rubber band around the jar and move it (a little water helps) to the very top of the new sourdough starter. The rubber band is your bench mark to see how fast and how high the new starter is growing.
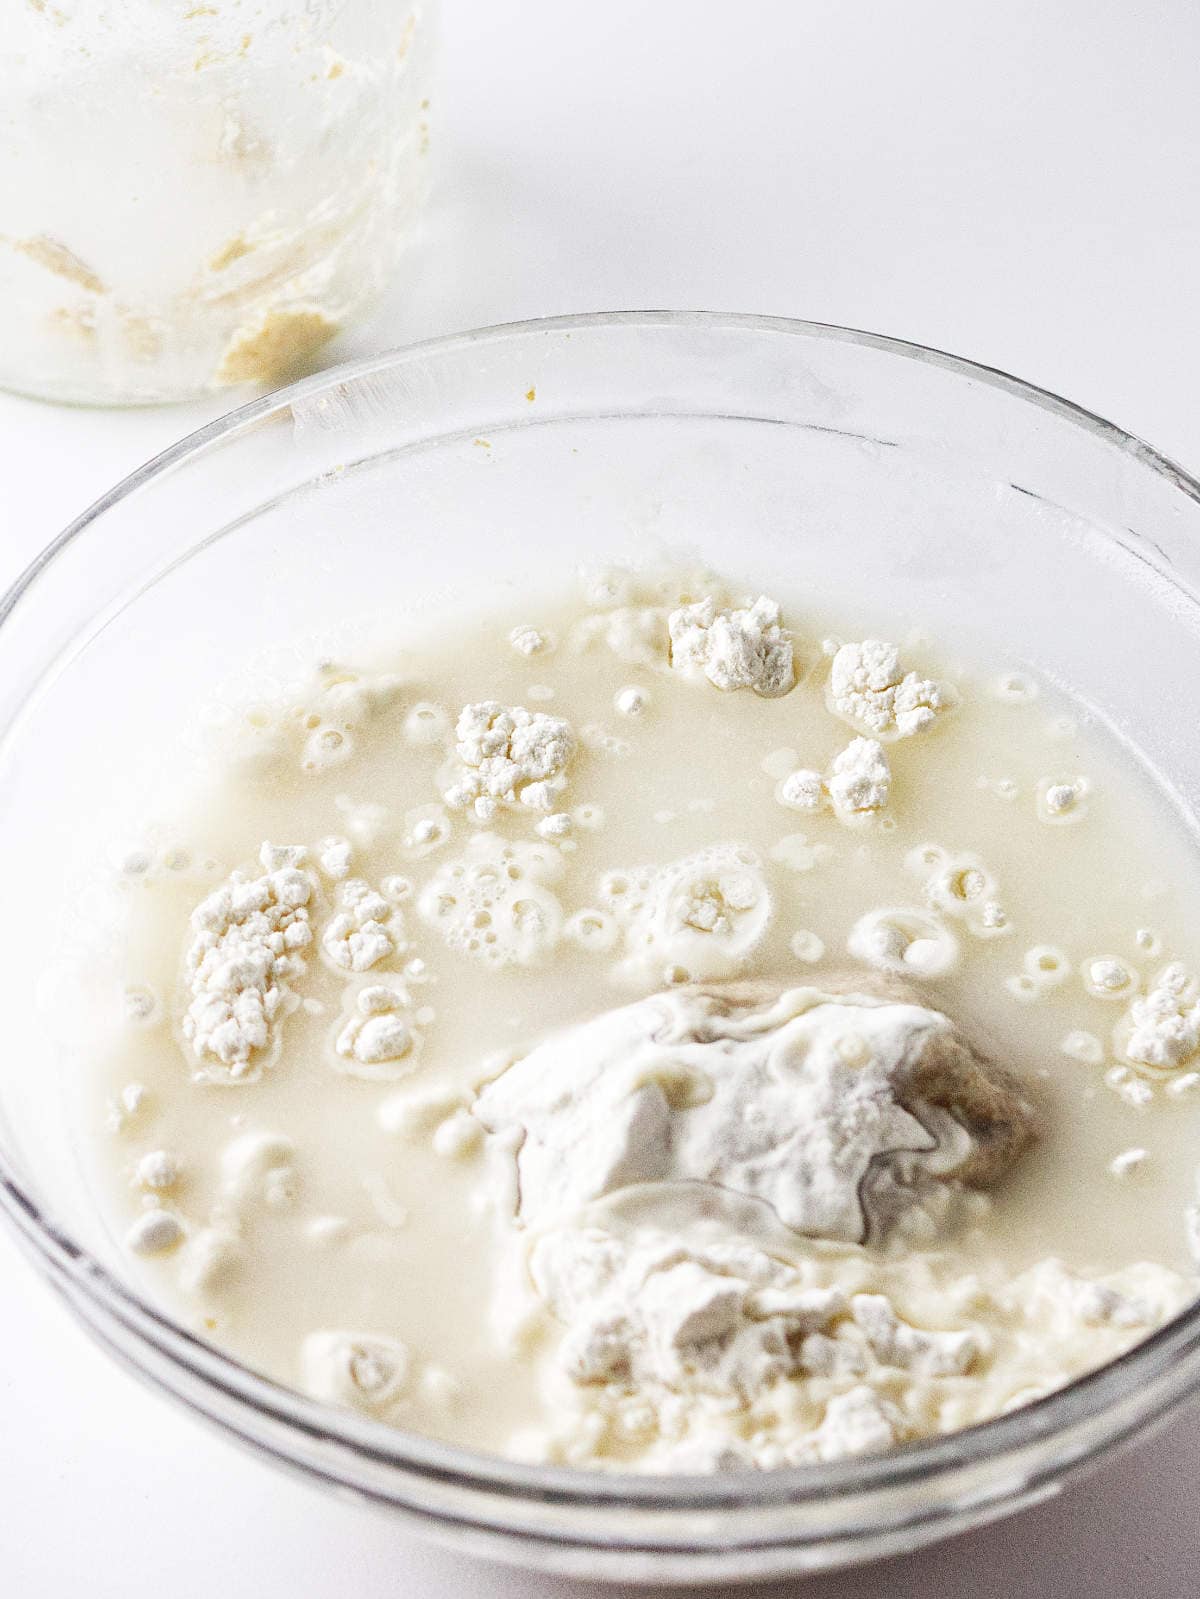
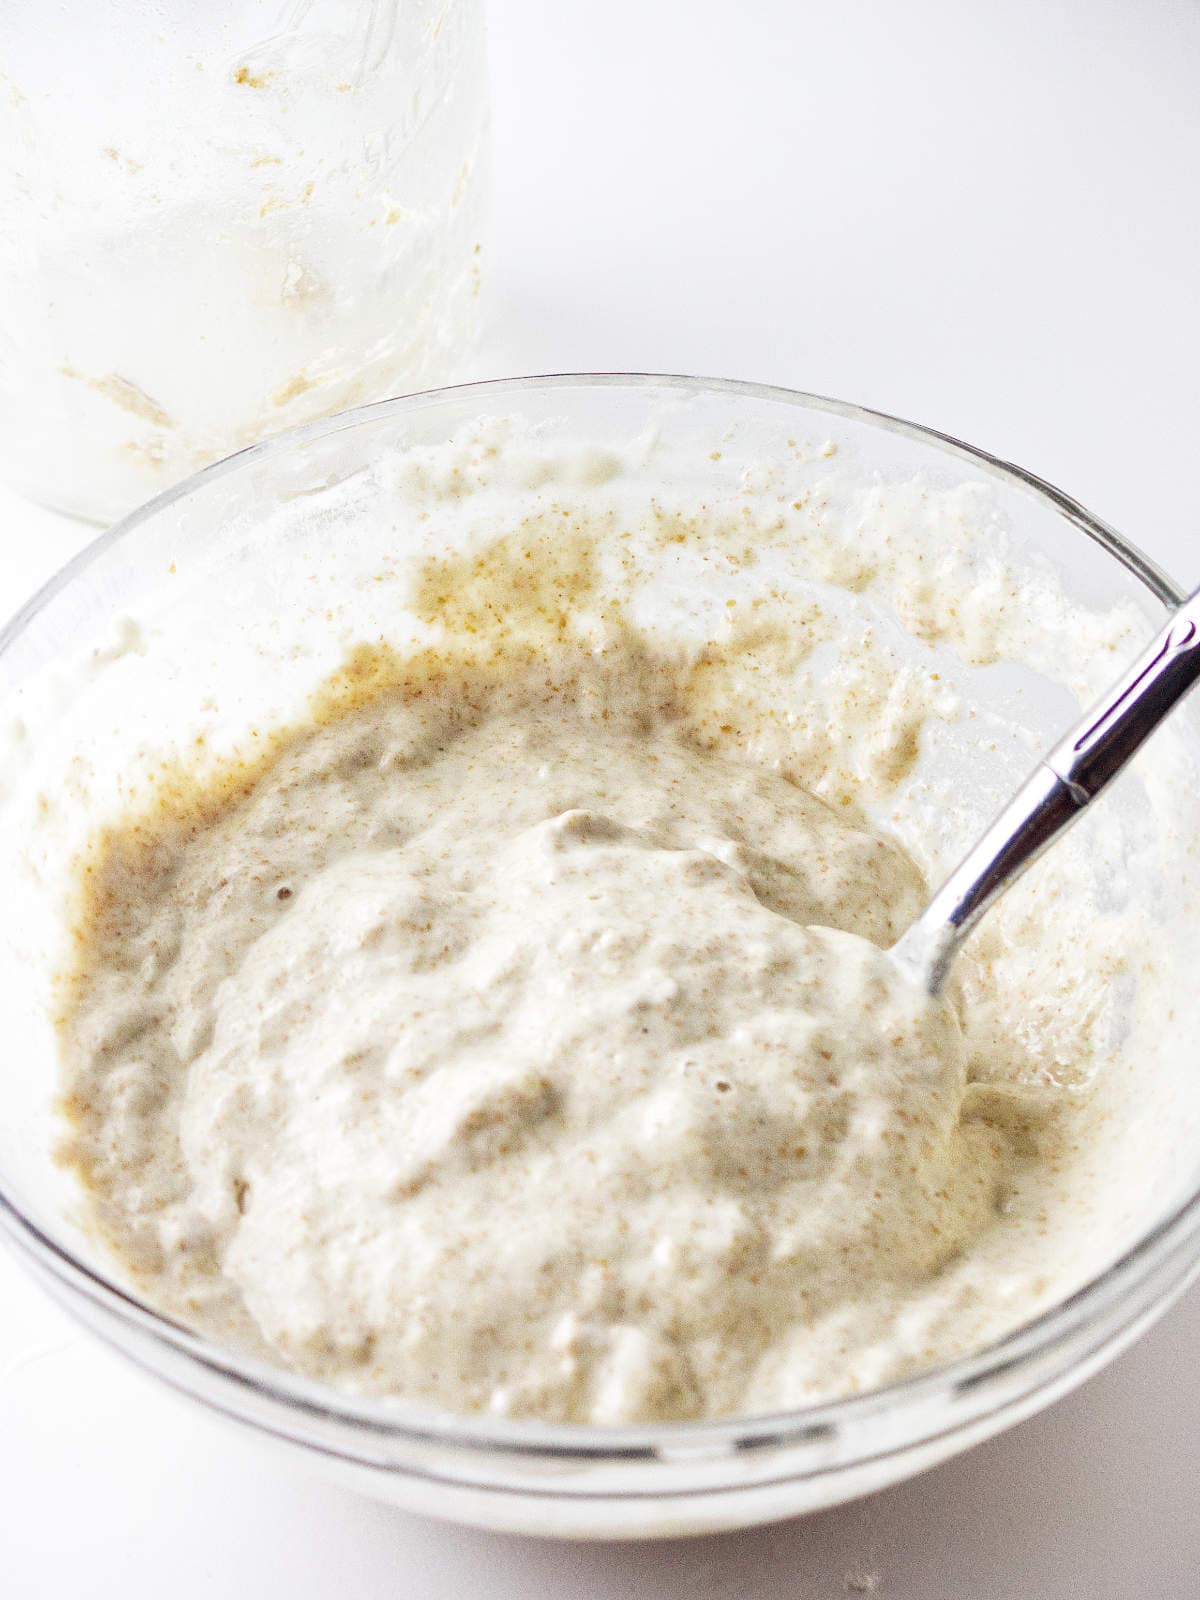
Maintaining Your Sourdough Starter
- Repeat step 3 (discarding half and feeding with fresh flour and water) every 12 hours for 5-7 days. You should start to see visible signs of activity, with bubbles appearing on the surface of the starter.
- Your starter is ready to use when it doubles in size within 4-6 hours after feeding. A test is to take a spoonful of starter and drop it into a bowl of water. If it floats, your starter is active and ready for use!
- Always use starter for breadmaking when it's at the bubbliest point.
PRO TIP: You can add the discard to pancakes, cakes, muffins, pizza dough, or any other baked good to reduce on the waste factor.
Just add the sourdough discard to the batter and mix in. It can take a few weeks for a new sourdough starter to mature and really develop the flavor profile associated with sourdough.

Substitutions and Variations
Here are a few delicious variations when making this recipe.
- Bread Flour: Bread flour can be used in place of unbleached flour for a slightly chewier starter. However, unbleached flour works perfectly well.
- Rye Flour: Rye flour can jumpstart the fermentation process due to its naturally higher acidity. A great sourdough starter can start with rye flour, and then switch to unbleached flour after the 3rd day.
- Whole Wheat Flour: A small amount of whole wheat flour (1-2 tablespoons) can be added to the feedings to introduce a wider variety of microorganisms.
Tips for Success
Here are a few tips for making :
- Be patient! Developing a healthy sourdough starter takes time and consistency. Don't get discouraged if you don't see immediate results.
- Use room temperature water. Hot water can kill the wild yeasts.
- Choose a warm spot. A consistent temperature around 70°F/21°C is ideal for starter development.
- Use a loose cover. The starter needs to breathe, so avoid using an airtight lid.
- Don't over-discard. When discarding half the starter, make sure you leave enough (about ½ cup) to feed with fresh flour and water.
- Hooch Topped Starter: If you see separation, where a liquid floats on top of the starter, just mix it in and feed the starter. That water floating means the starter needs to be fed.
How A Sourdough Starter Is Used
The wild yeasts and bacteria in the sourdough starter feed on the flour, producing carbon dioxide which causes the dough to rise. You don't need yeast when using a mature sourdough starter.
A great sourdough starter unlocks a world of delicious possibilities! Here are a few ideas:
- Sourdough Bread: From classic sourdough loaves to baguettes and batards, the options are endless.
- Sourdough Pizza Dough: Elevate your pizza night with a flavorful sourdough crust.
- Sourdough Pancakes and Waffles: Add a delightful tang to your breakfast favorites.
- Sourdough Crackers: A delightful and healthy snack option.
Related Recipes
Equipment
Equipment can have a big impact on how a recipe turns out. Below are some of my favorite pieces of equipment that I use when making a sourdough starter.
As an Amazon Associate I earn from qualifying purchases.
Storage and Reheating
- Active Starter: If you plan to bake with your starter regularly, you can keep it at room temperature. If it's at least 2 weeks old, you can then reduce the feeding to every 12-24 hours, depending on how soon you need the starter.
- Refrigerator Storage: For longer term storage, one that will slow the growth down and only require feeding once a week, store in the refrigerator.
- Freezing Starter: Only freeze a mature sourdough starter (older than 1 month). Place some bubbly, ready to use starter (or just feed discard) in a silicone muffin tray and freeze. Remove the frozen discs and store in a sealed freezer bag for up to 2 months. You will need to feed the defrosted starter several feeding before using it for bread.

Frequently Asked Questions
That liquid, regardless of color, is called 'hooch', it an alcohol and water by product of the fermentation process in your sourdough starter. A hooch topped starter means it's really hungry and needs fed. Just mix the liquid back into the starter before discarding and feeding.
Black hooch is NOT an indication that your starter has died or has gone bad. It's normal to see this on starters that get forgotten at the back of the refrigerator. If there is a lot of black liquid then drain it off. Then discard half the starter and feed your starter and get it doubling in size every 6 to 12 hours (usually only takes a week to revive it). Put it back in the fridge, just remember to feed it once a week.
First, it's REALLY hard to kill a sourdough starter. It's easy to neglect it, starve it, and make it under perform, but its HARD to kill it. If your sourdough starter is dead, than it will stink to high heaven with an offensive, rancid, putrid, or moldy odor. Just dump it.
Except for when reviving a neglected starter, use the discard for anything you back. Even after the first two revival feedings on a neglected starter, you can use that in your baking instead of dumping it in the trash. It's great in scones, regular bread, fish fry batter, pancakes, and anything else you can think of!
More Delicious Bread Ideas
Sourdough Starter Recipe
Ingredients
Day 1
- ½ cup Unbleached flour
- ½ cup Water
Day 3
- ½ Unbleached flour
- ½ Water
Feeding and Maintaining
- Unbleached flour per feeding requirements
- Water per feeding requirements
Instructions
- In a clean, non-reactive container (like a glass jar), combine the flour and water. Mix well to form a shaggy dough.½ cup Unbleached flour, ½ cup Water
- Cover the jar loosely with a lid or cloth (not airtight) and leave it at room temperature (around 70°F/21°C) for 48 hours.
- After 48 hours, discard half of the starter and discard the liquid on top. Feed the remaining starter with another ½ cup (65g) of flour and ½ cup (120ml) of water. Mix well and cover loosely again.½ Unbleached flour, ½ Water
- Place a heavy rubber band around the jar and move it (a little water helps) to the very top of the new sourdough starter. The rubber band is your bench mark to see how fast and how high the new starter is growing.
- Repeat step 3 (discarding half and feeding with fresh flour and water) every 12 hours for 5-7 days. You should start to see visible signs of activity, with bubbles appearing on the surface of the starter.Unbleached flour, Water
- Your starter is ready to use when it doubles in size within 4-6 hours after feeding. A test is to take a spoonful of starter and drop it into a bowl of water. If it floats, your starter is active and ready for use!
- Always use starter for breadmaking when it's at the bubbliest point.
Notes
- Be patient! Developing a healthy sourdough starter takes time and consistency. Don't get discouraged if you don't see immediate results.
- Use room temperature water. Hot water can kill the wild yeasts.
- Choose a warm spot. A consistent temperature around 70°F/21°C is ideal for starter development.
- Use a loose cover. The starter needs to breathe, so avoid using an airtight lid.
- Don't over-discard. When discarding half the starter, make sure you leave enough (about ½ cup) to feed with fresh flour and water.
- Hooch Topped Starter: If you see separation, where a liquid floats on top of the starter, just mix it in and feed the starter. That water floating means the starter needs to be fed.







Leave a Reply