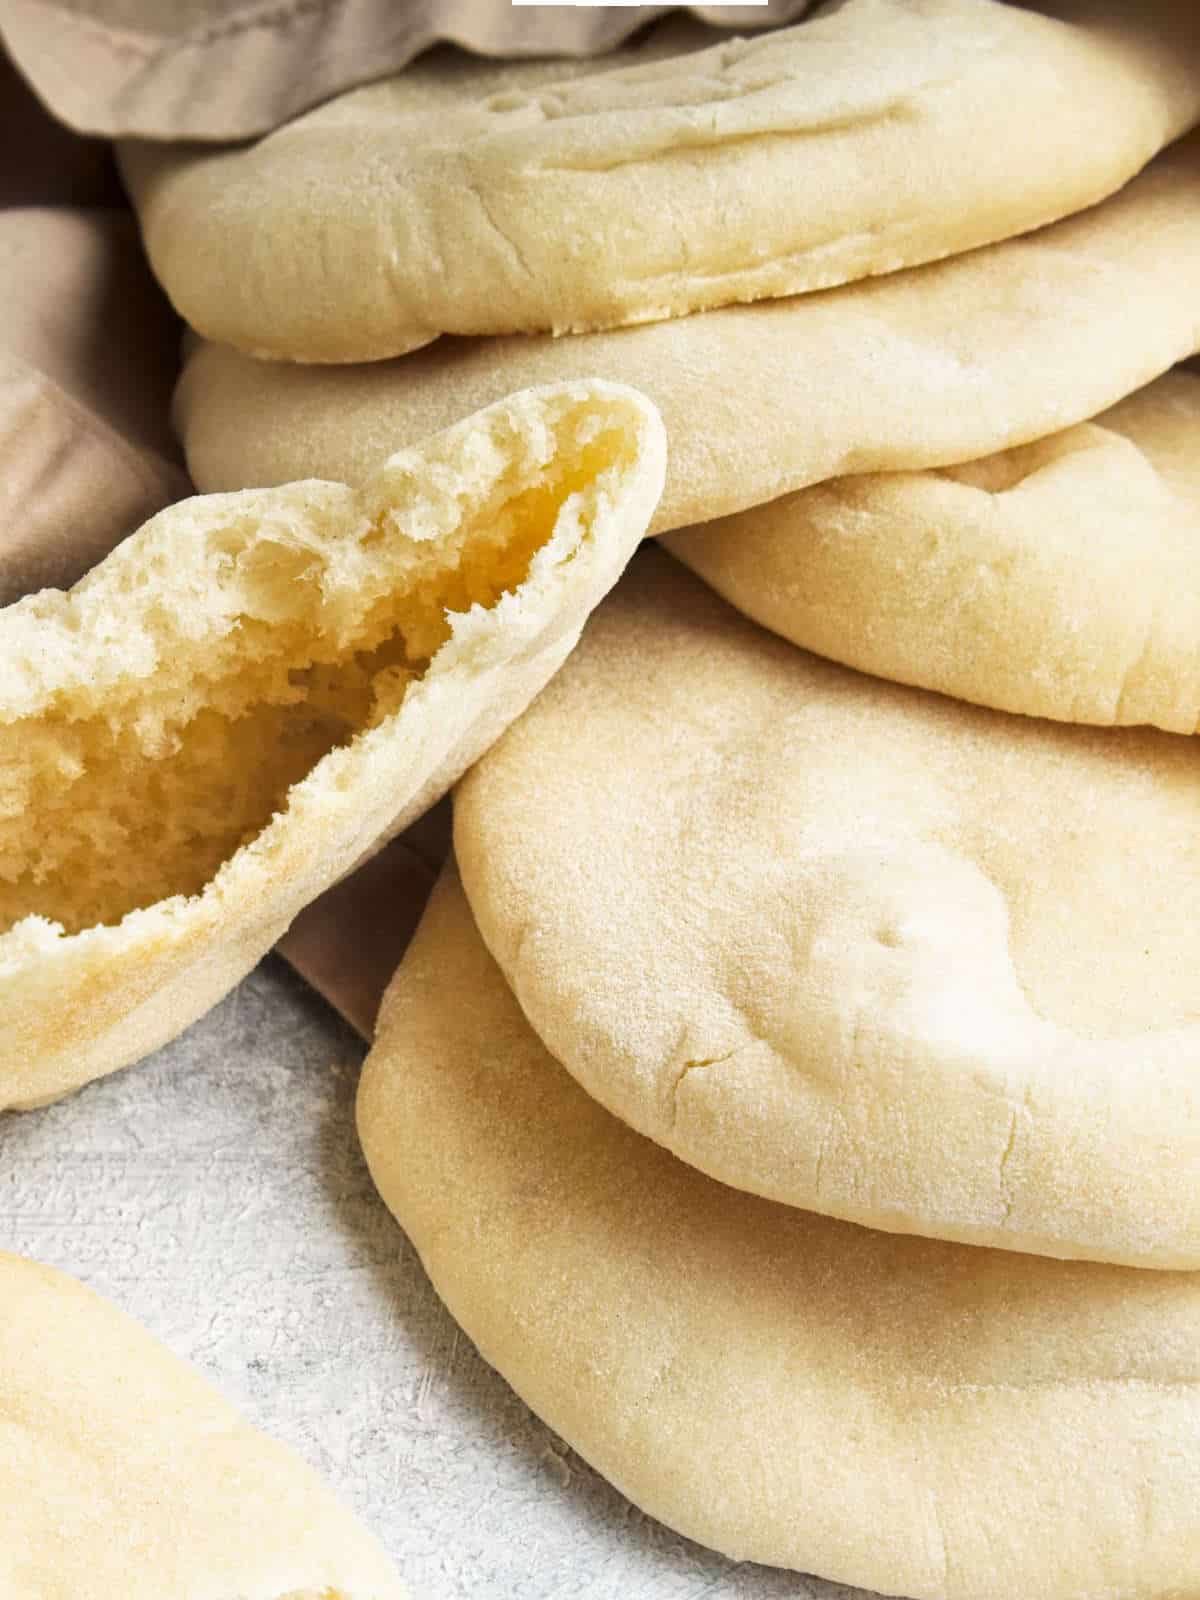
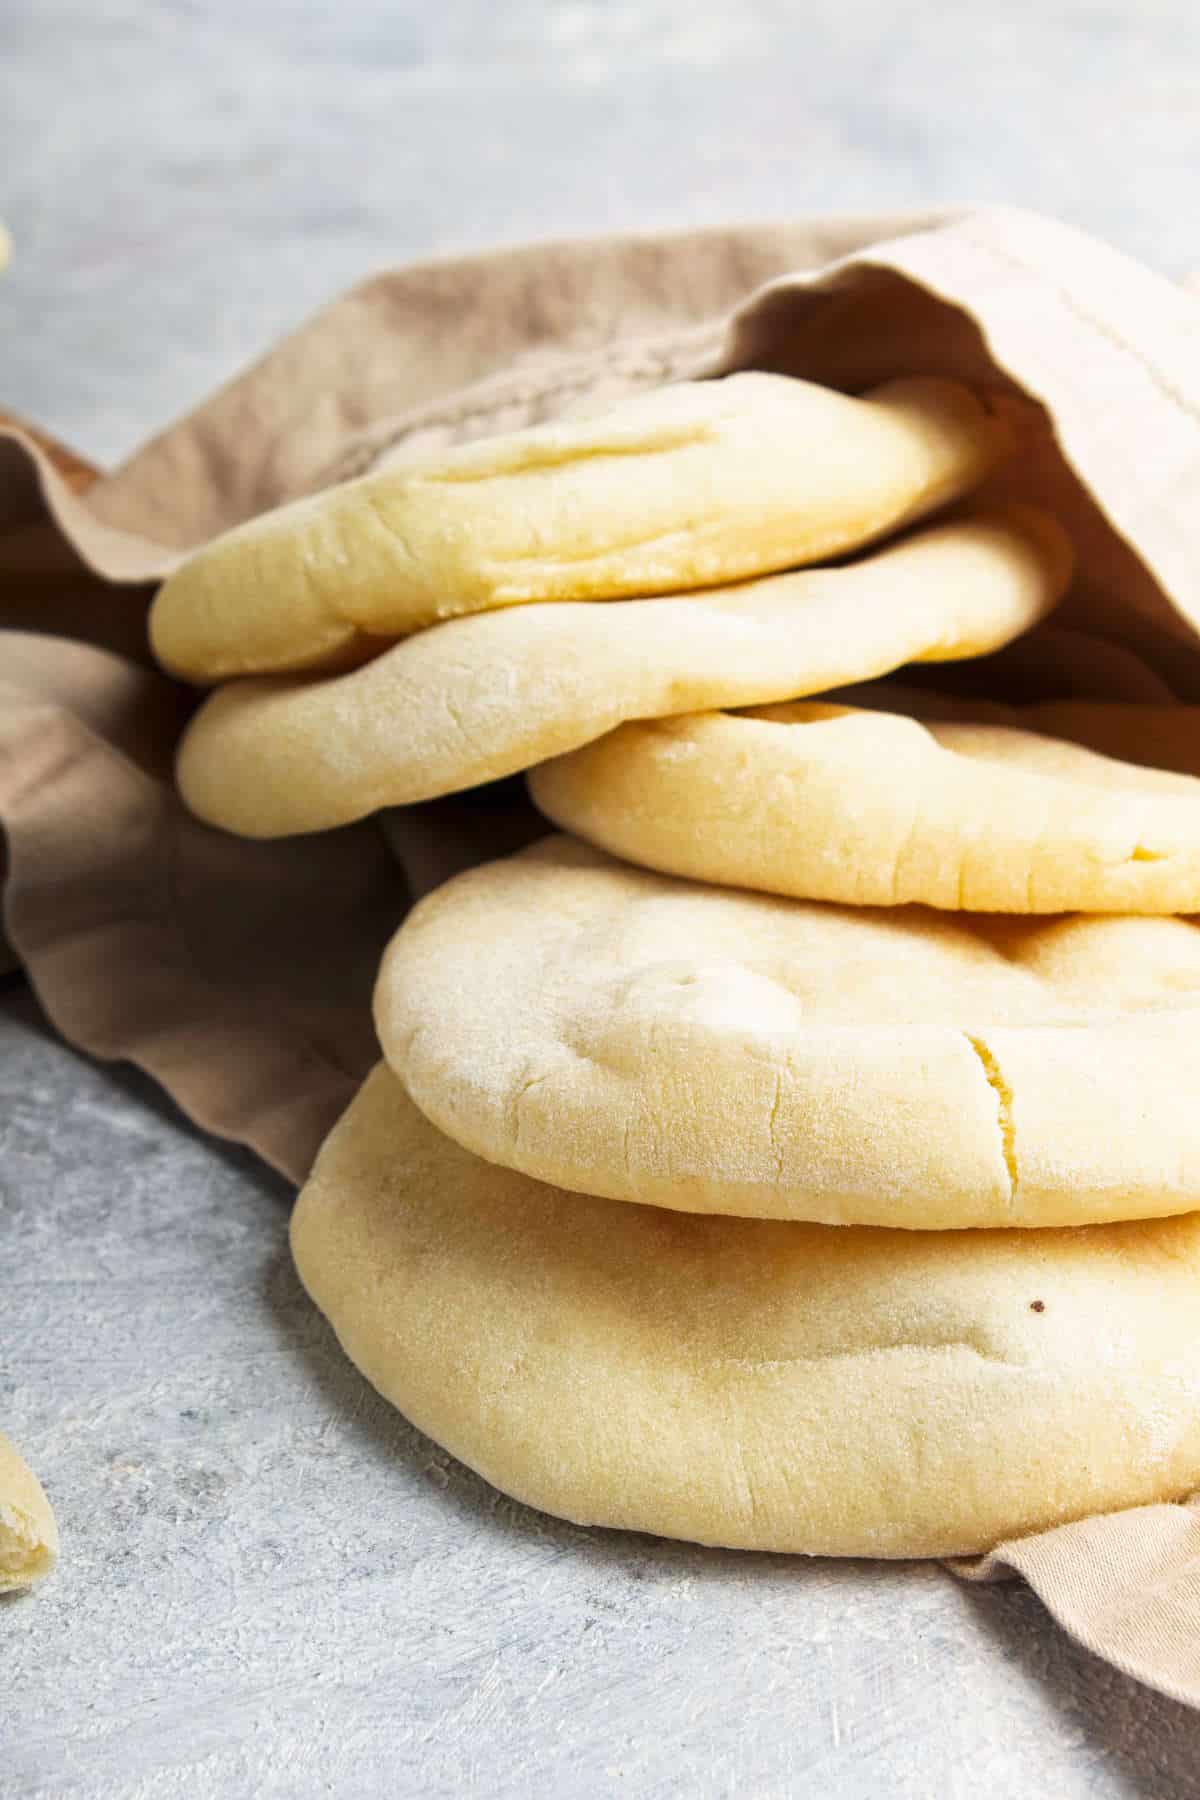
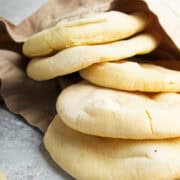
These baked Mini Pita Bread are perfect for dipping in hummus, tzatziki, soups or stews, and your favorite sauce. These small, round pockets of bread are soft and chewy on the inside with a crispy crust on the outside. They're also a great option for making smaller sandwiches.
With their light and airy texture and slightly chewy crust, Baked Mini Pita Bread is a satisfying and flavorful addition to any meal.
Jump to:
Why You'll Love This Recipe
Mini pita bread are a versatile addition to any meal. They're perfect for dipping into hummus, filling with falafel, or even using as a base for mini pizzas. Making your own mini pita bread at home is surprisingly easy and allows you to control the ingredients and freshness.
With just a few simple ingredients and a little patience, you can enjoy these warm, fluffy pockets of goodness straight from your own kitchen.
- Easy to Make: This recipe easy-to-make, and is perfect for beginners.
- Versatile: Serve with your favorite dips, spreads, or fillings.
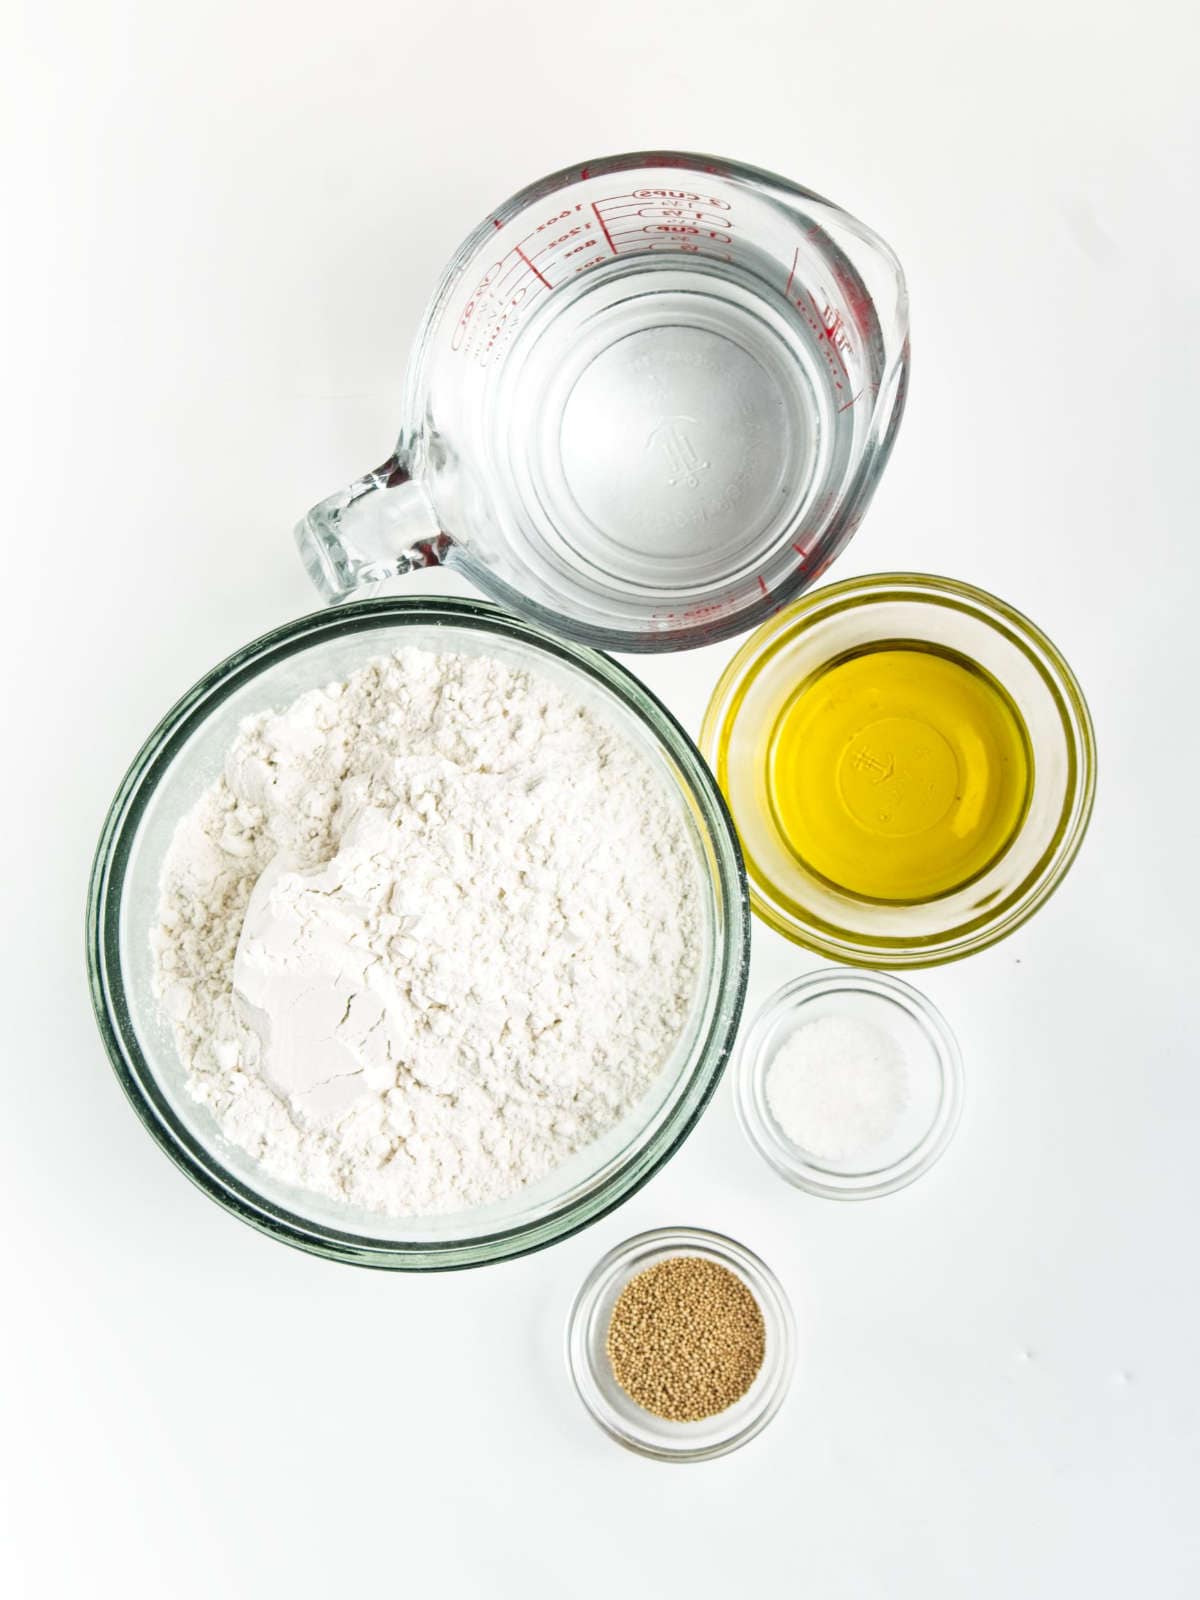
Ingredients You'll Need
To make Baked Mini Pita Bread, you'll need all-purpose flour, whole wheat flour, yeast, sugar, salt, warm water, and vegetable oil. These simple ingredients are easy to find and combine to create a delicious and flavorful bread.
Full ingredient amounts and preparation instructions are in the printable recipe card at the bottom of this post.
How To Make Mini Pita Bread
Homemade Mini Pita Bread is a fun and rewarding project for any home baker. This recipe is easy to follow and requires only a few basic ingredients. The finished product is warm, fresh, and perfect for sharing with friends and family.
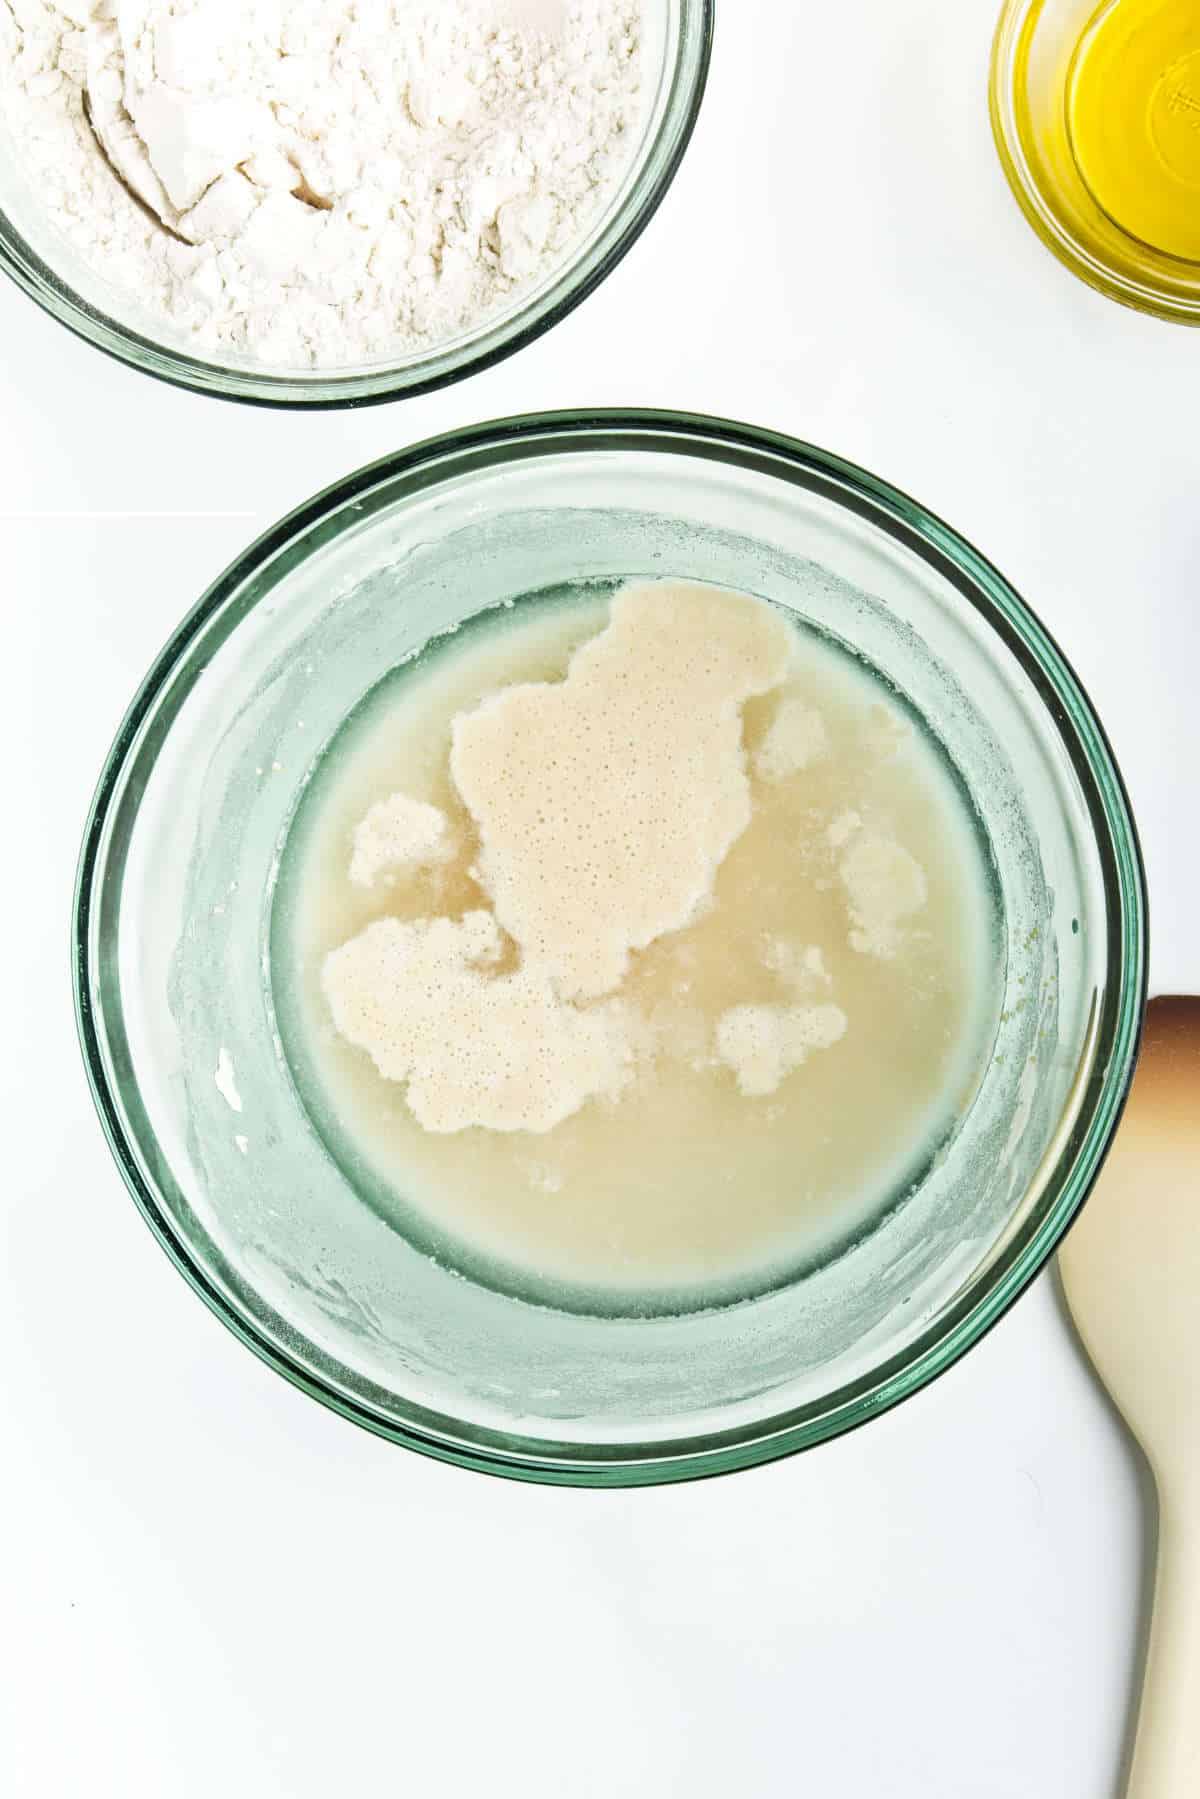
Make The Pita Dough
- In a large bowl, combine warm water (no more than 110°F) with ¼ cup. Stir to dissolve. Sprinkle the yeast on top and set aside for about 10 minutes until foamy.
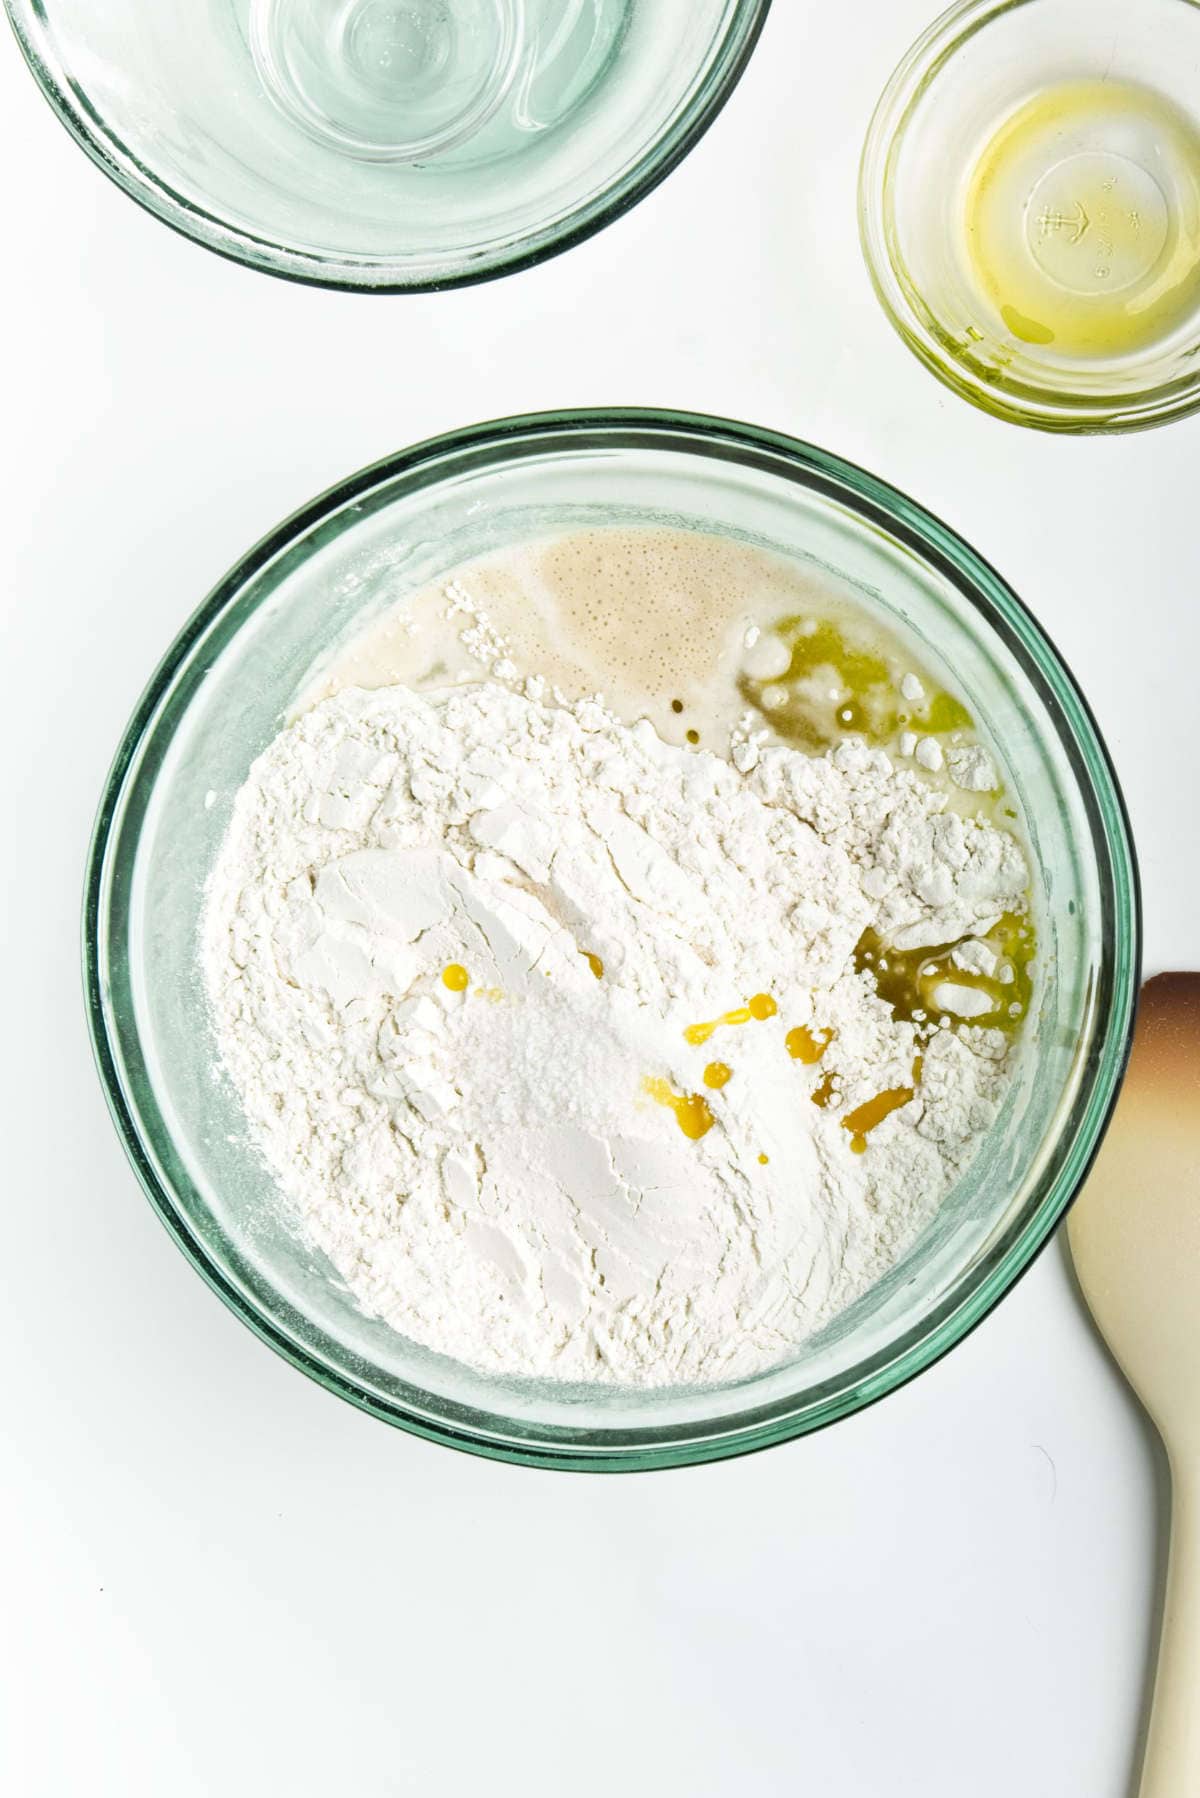
- Add the remaining flour, salt, and olive oil. Stir until everything comes together in a sticky dough.
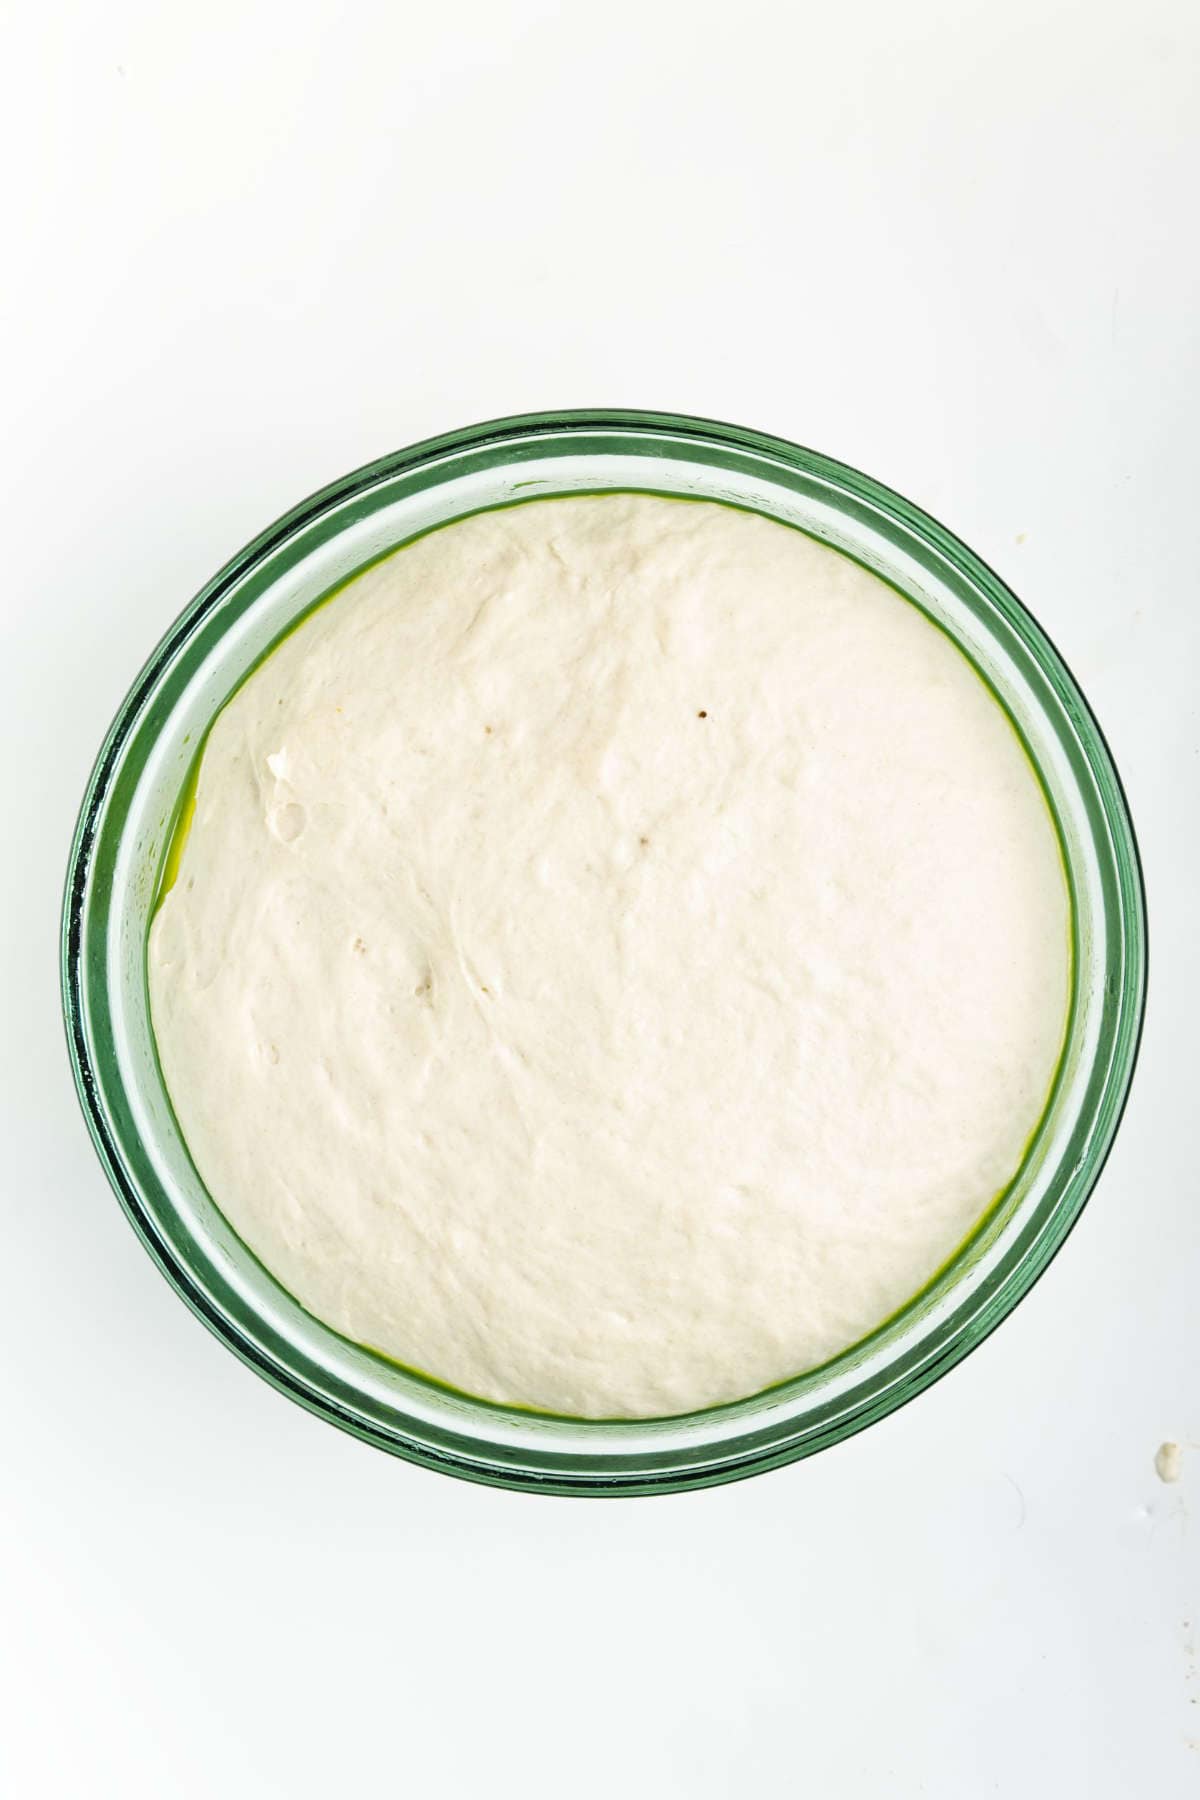
Let The Dough Rise
- Turn out on a floured surface and knead for 7-10 minutes until smooth and soft. If the dough is still sticking to your hands more than itself, add a bit more flour a tablespoon at a time.
- Place dough into a greased bowl and cover with plastic wrap or a damp cloth. Place in a warm location and allow to rise until 2.5-3x the size, about 1 hour depending on the ambient temperature.
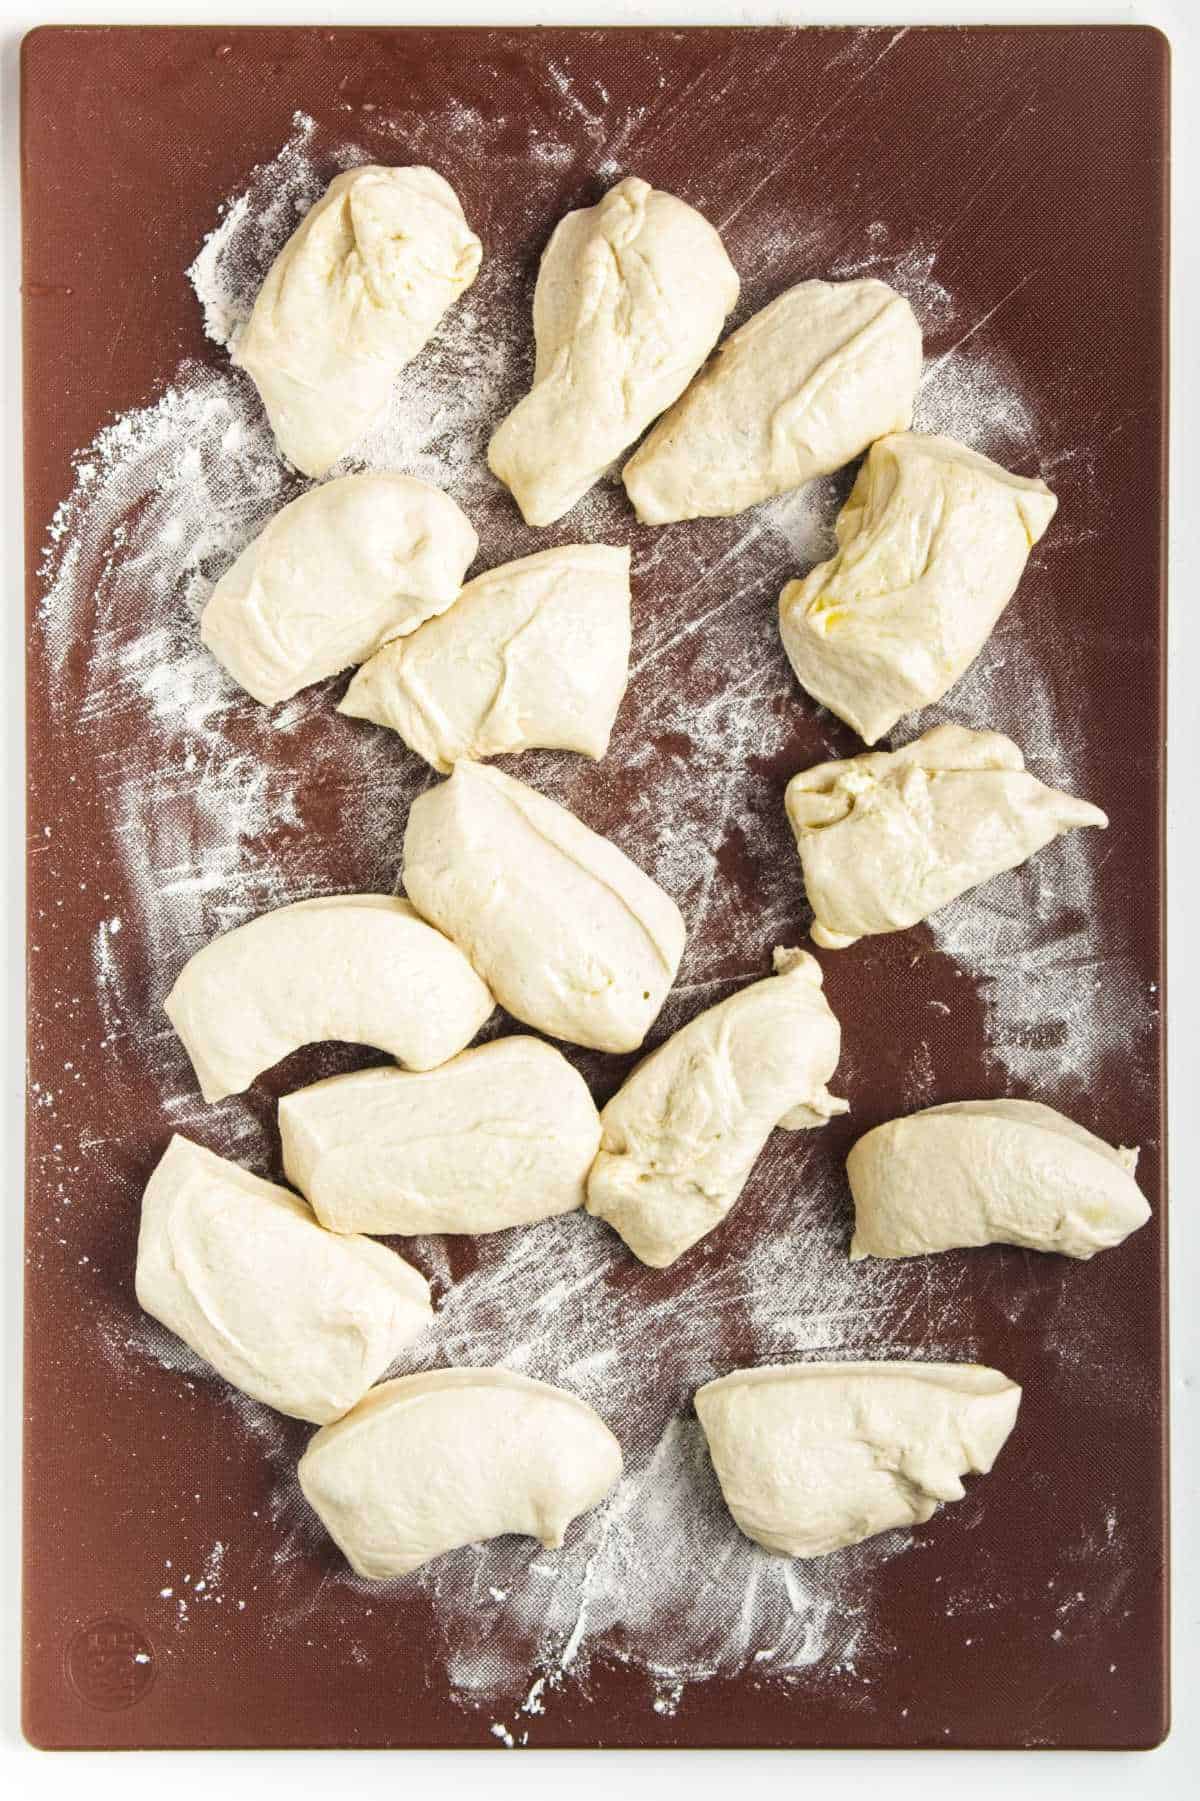
Divide Dough Into Smaller Pieces
- Preheat oven to 475°F. Place a heavy baking sheet in the oven to heat as well.
- Turn the dough out on to lightly floured surface and cut into 15 equal pieces.
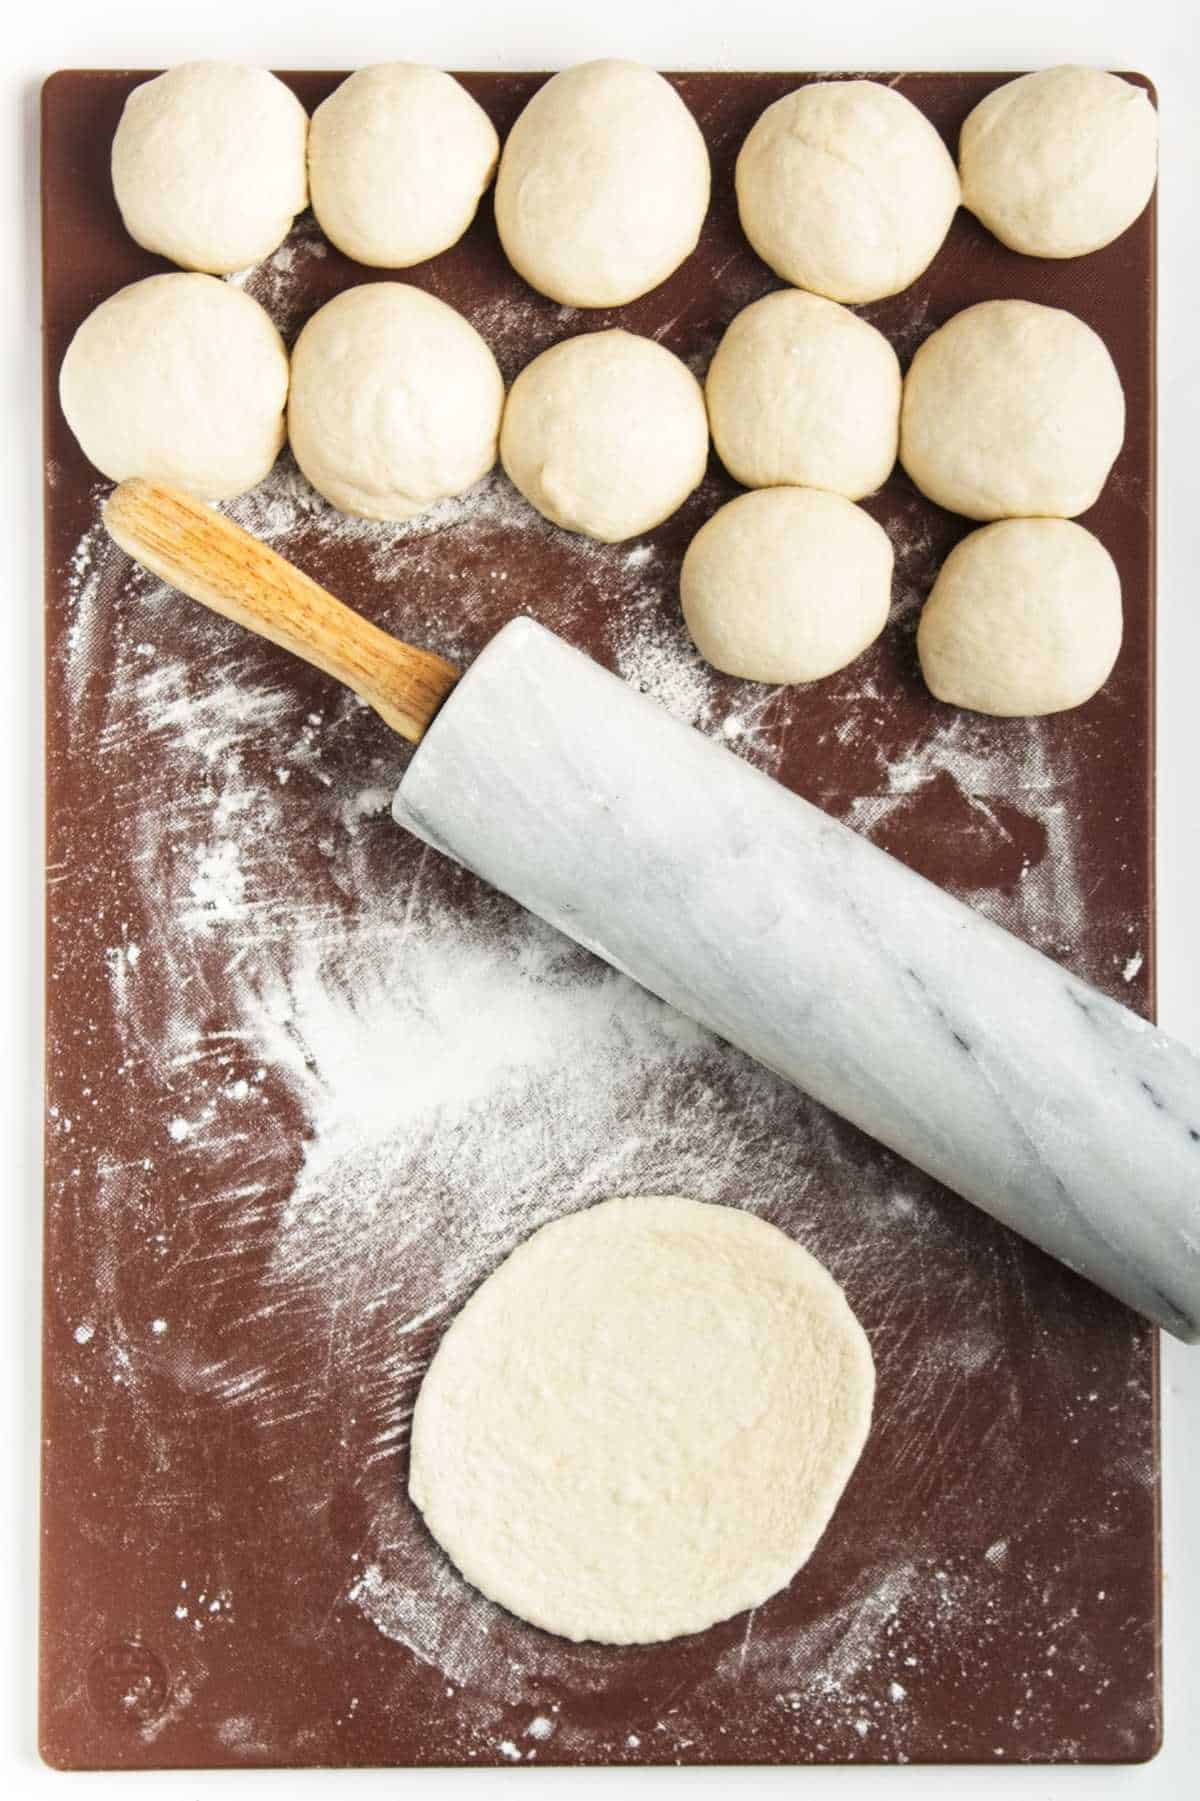
- With each piece, fold the edges into the center and roll between your palms to form a ball. Set aside to rest for 5-7 minutes covered with a cloth so the gluten relaxes.
- On a well-floured surface, use a rolling pin to roll each piece into a 5 inch circle slightly more than ¼” thick. Rest the formed pitas for 15 minutes.
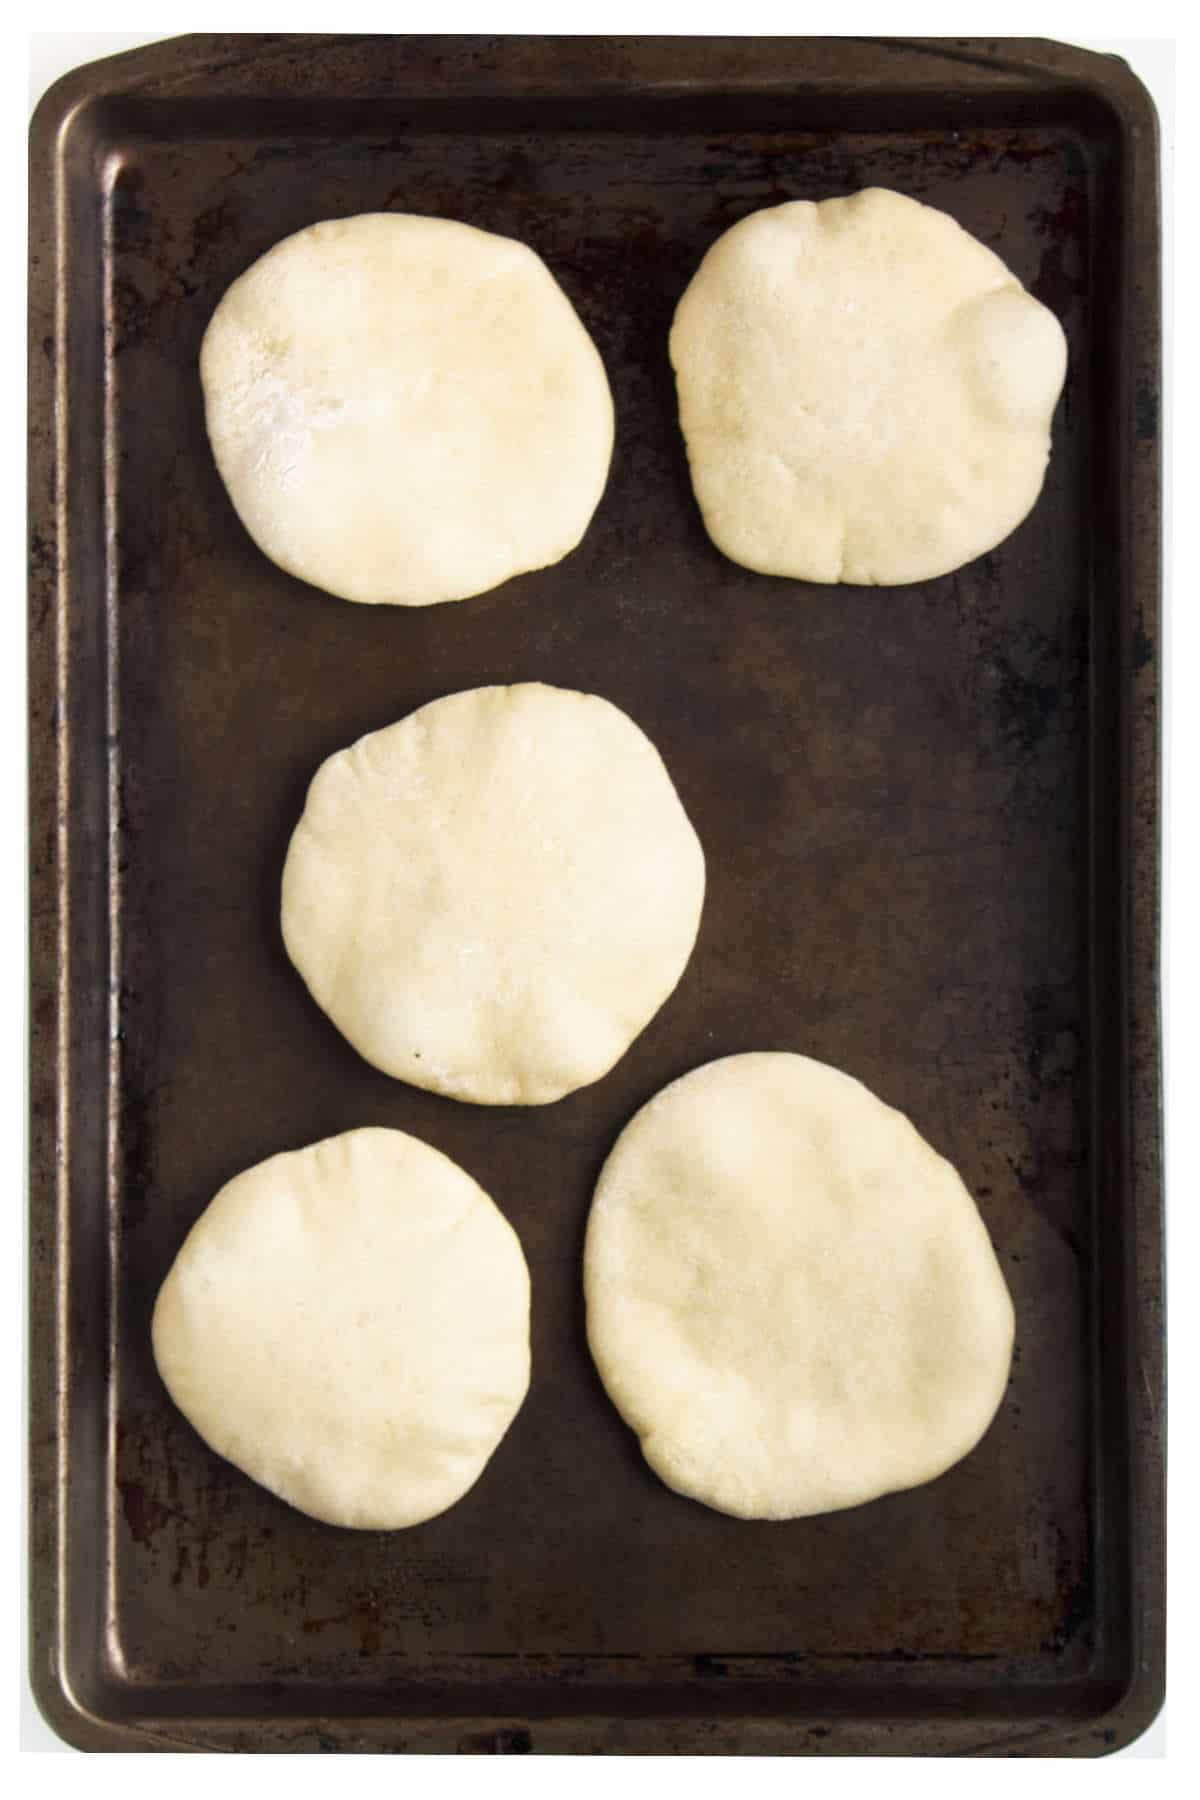
Bake Mini Pita Breads
- Bake 3-5 pitas at a time by placing them on the preheated baking sheet. Bake for 2-3 minutes until well puffed (but not turning brown). Remove immediately and place a new batch in the oven. Once removed from the oven the pitas will collapse, but will still have the pocket inside when cut open.
- Serve immediately or store in an airtight container in the fridge for up to 3 days.
Serving Suggestions
Serve mini pita bread with hummus, tzatziki, or your favorite dip. Use as a base for small sandwiches or wraps. Cut into triangles and toast, for a snack for crispy pita chips. Top with your favorite toppings, such as cheese, olives, tomatoes, and falafel balls.
Related Recipes
- Fat Tuesday Paczki Donuts
- Pan de Muertos (Day of The Dead Bread)
- Semolina Bread
- Hungarian Nut Roll Recipe
- Honey Wheat Bread Machine Recipe
Substitutions
Here are a few delicious variations or substitutions when making this pita bread recipe.
- Use whole wheat flour for a healthier option.
- Add dried herbs like oregano or thyme to the dough for extra flavor.
Storage Options
- Store leftover mini pitas in an airtight container at room temperature for up to 2 days.
- For longer storage, freeze the pitas and reheat them in a toaster oven.
Tips for Success
Here are a few tips for making this bread recipe:
- Use warm water, but not too hot, to activate the yeast.
- Keep a close eye on the pitas while cooking, as they can brown quickly, remove as soon as they are puffy.
- Bake the pita bread until it is golden brown and sounds hollow when tapped.
Equipment
Equipment can have a big impact on how a recipe turns out. Below are some of my favorite pieces of equipment that I use when making this recipe.
As an Amazon Associate I earn from qualifying purchases.
Frequently Asked Questions
While all-purpose flour works best, you can experiment with bread flour or whole wheat flour though.
The pitas are done when they are puffed up and slightly golden.
More Bread Recipes
- Easy Chocolate Chip Orange Muffins
- Cherry Scones
- Pumpkin Scones with Maple Glaze
- Bakery Style Chocolate Chip Muffins


Mini Pita Bread
Ingredients
- 3 ¼ cup all-purpose flour
- 2 ¼ teaspoon active dry yeast
- 1 teaspoon salt
- 2 tablespoon olive oil
- 1 ¼ cup water lukewarm
Instructions
- In a large bowl, combine warm water (no more than 110°F) with ¼ cup. Stir to dissolve. Sprinkle the yeast on top and set aside for about 10 minutes until foamy.
- Add the remaining flour, salt, and olive oil. Stir until everything comes together in a sticky dough.
- Turn out on a floured surface and knead for 7-10 minutes until smooth and soft. If the dough is still sticking to your hands more than itself, add a bit more flour a tablespoon at a time.
- Place dough into a greased bowl and cover with plastic wrap or a damp cloth. Place in a warm location and allow to rise until 2.5-3x the size, about 1 hour depending on the ambient temperature.
- Preheat oven to 475°F. Place a heavy baking sheet in the oven to heat as well.
- Turn dough out on to lightly floured surface and cut into 15 equal pieces.
- With each piece, fold the edges into the center and roll between your palms to form a ball. Set aside to rest for 5-7 minutes covered with a cloth so the gluten relaxes.
- On a well-floured surface, use a rolling pin to roll each piece into a 5 inch circle slightly more than ¼” thick. Rest the formed pitas for 15 minutes.
- Bake 3-5 pitas at a time by placing them on the preheated baking sheet. Bake for 2-3 minutes until well puffed (but not turning brown). Remove immediately and place a new batch in the oven. Once removed from the oven the pitas will collapse, but will still have the pocket inside when cut open.
- Serve immediately or store in an airtight container in the fridge for up to 3 days.


Leave a Reply