Learn how to bake delicious homemade bread easily with our breadmaking tutorials, tips, and resources. We have recipes for all skill levels, from beginners to experts.
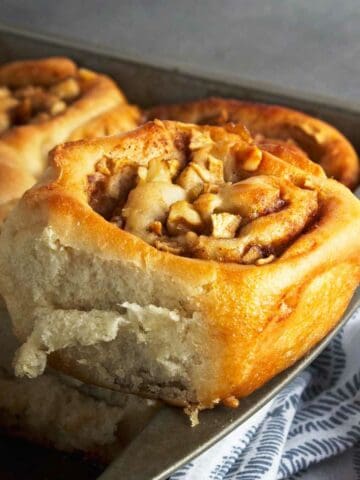
Quick Bread Recipes
Quick Breads: Easy and Delicious Recipes ready in minutes.
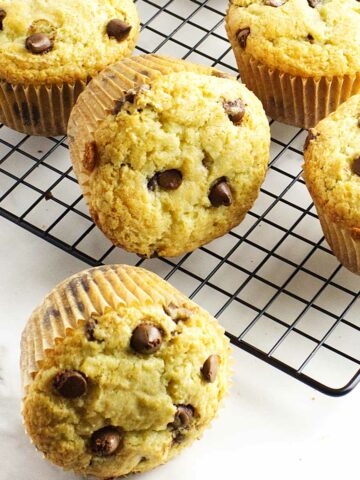
- Bakery Style Chocolate Chip Muffins
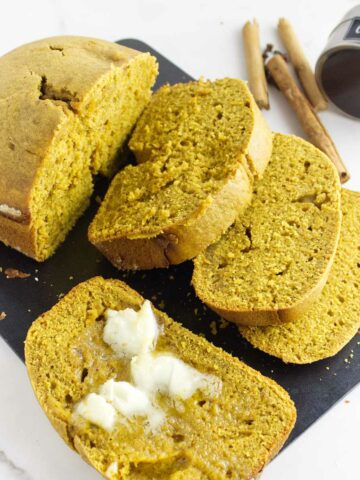
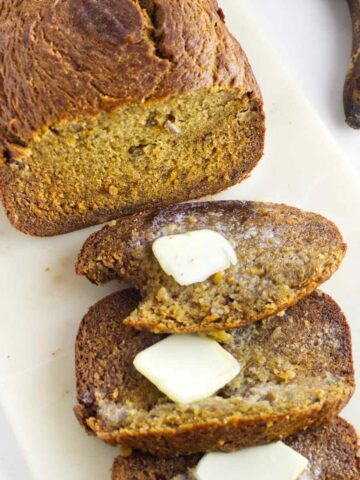
- Bread Maker Pumpkin Bread
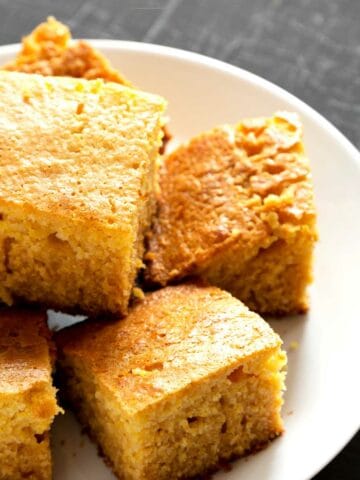
- Honey Butter Cornbread
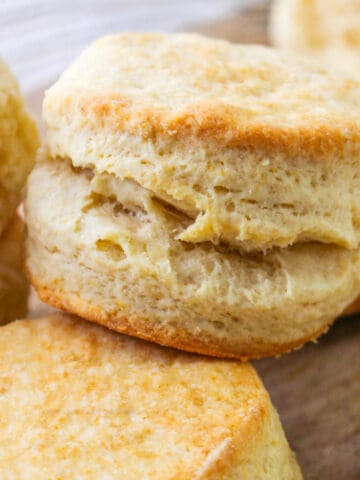
- Old-Fashioned Buttermilk Biscuits
Breadmaking Terms
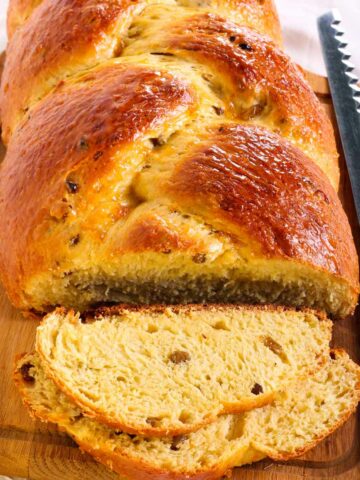
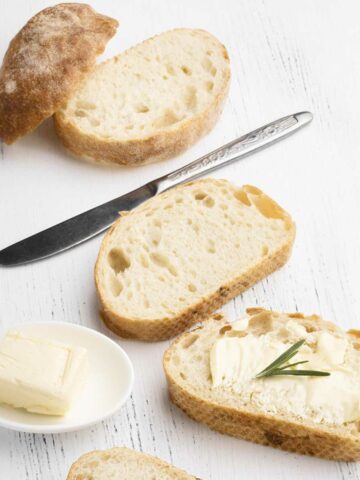
Yeast Bread Recipes
See more Yeast Bread recipes →

About Kelly
I started making bread when I was 21 and working at a Jewish bakery. I loved to watch the bakers as they made ginormous batches of bagels, challah, rye bread, and Hamenstachen cookies.
Breadmaking Resources
In addition to our recipes, we also offer breadmaking tips and tutorials on making bread from all over the world. We cover everything from how to choose the right flour to how to shape and bake a loaf of bread.
See more Breadmaking Tips & Resources →
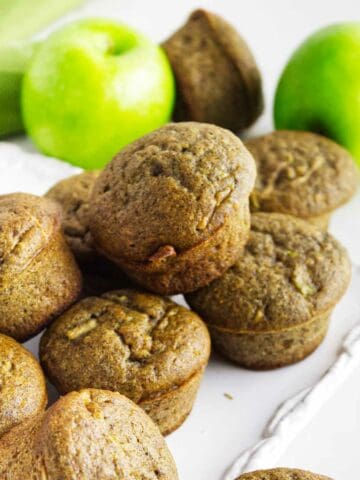
Muffins and Scones
- Bakery Style Chocolate Chip Muffins
- Old-Fashioned Buttermilk Biscuits
- Apple Flaxmeal Muffins
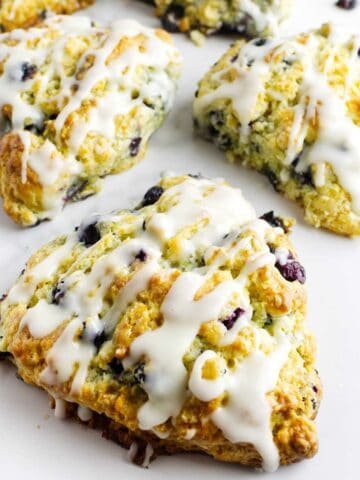
- Blueberry Lemon Scones
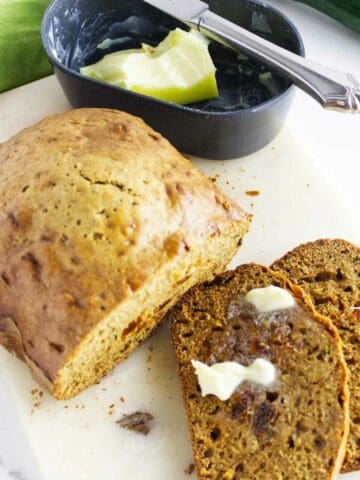
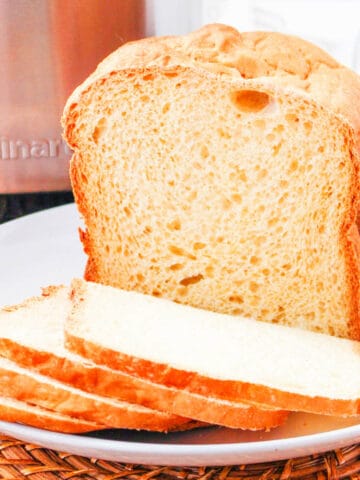
Bread Machine Recipes
Bread Machine Recipes: Easy and Delicious Breads for Your Bread Machine
See more Bread Machine recipes →
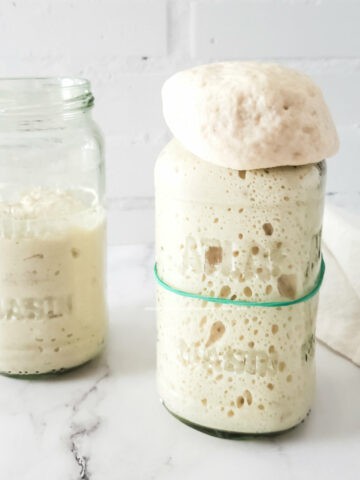
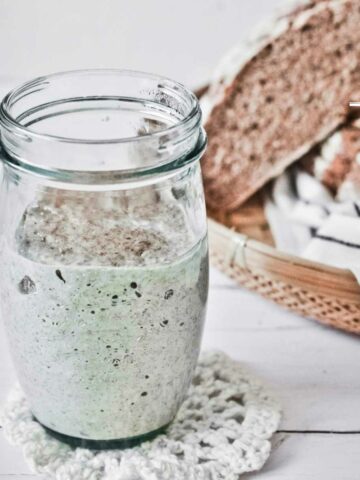
Sourdough Breadmaking
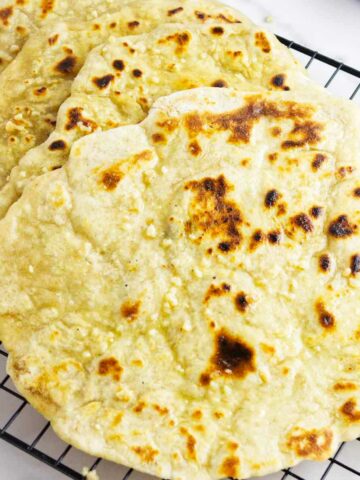
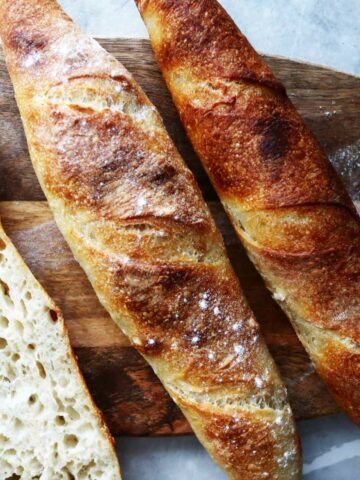
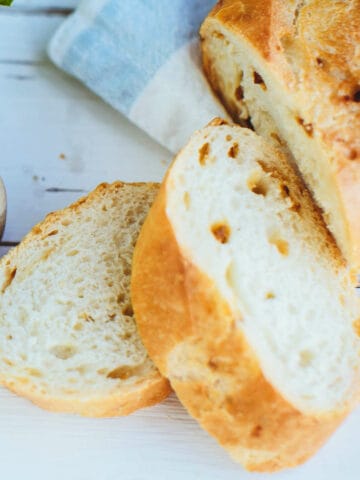
Artisan Grain Bread Recipes
Baking with Whole Grains and Ancient Grains.
See more Artisan Grains Bread recipes →